 When diving with multiple stage tanks you can get to a point where it is impractical to clip it into left chest D-ring. Normally, only a maximum of two stages are hooked on while immersed. As soon as you need a third stage bottle for the dive, the question arises, where to put it?
Here a so called Leash comes in. This is, basically, a piece of rope, to which a double-ender carabiner is clipped. Onto this leash, you can now hang the third stage tank. The double-ender on the leash is then clipped to the hip D-ring (left). Then the leash can run between your legs and store the stage bottle on the back side. Once it is secured there by the leash, it will be comfortable to dive with.
How you can tinker such a Leash by yourself I will introduce to you in the following post:
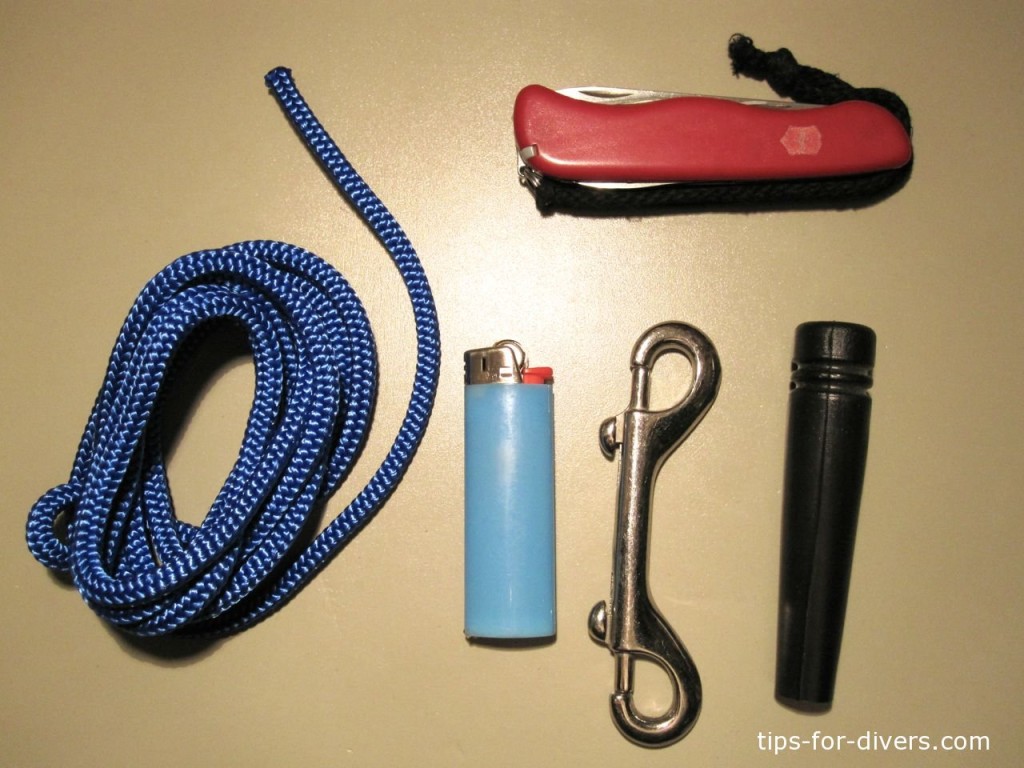
For a leash you need:
- 6mm thick rope
- a knife or a good pair of scissors
- A lighter
- A double-ender carabiner
- A hose protector or alternatively a piece of tubing
Step 1: Measure the length of rope
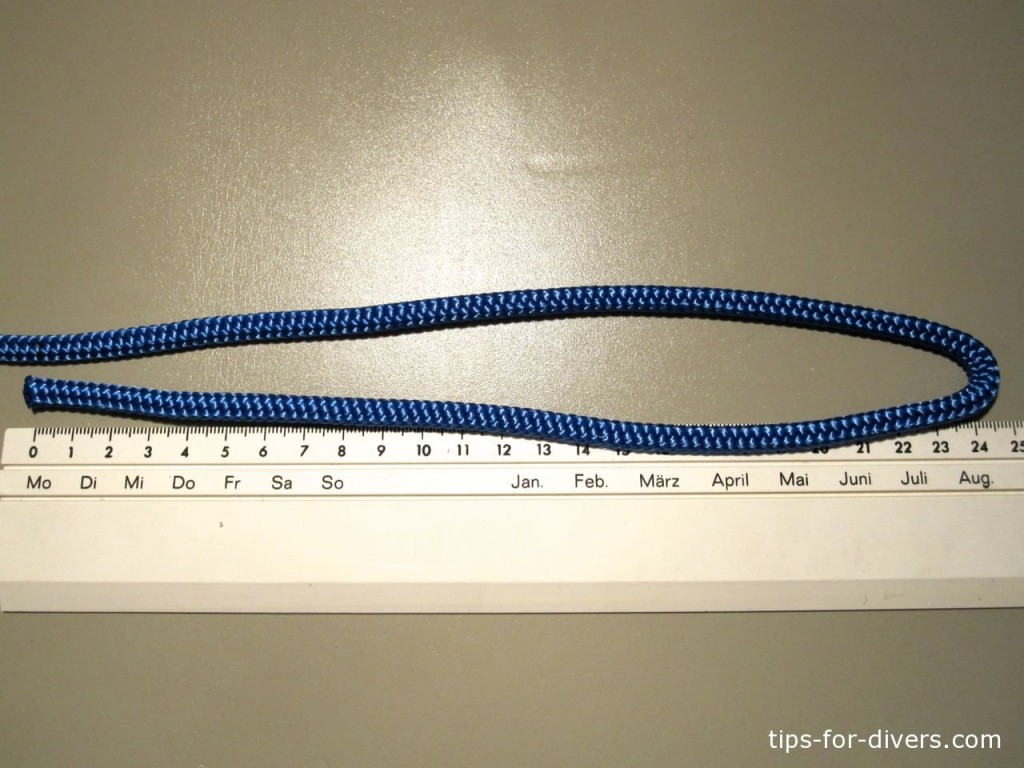
In the first step, you must measure the length of rope.
For your information: The leash is double-ended at the end (about 10 to 12cm long, depending on the model) and the rope. The leash should be long enough to reach from the D-ring on your left hip over the thigh and between your legs.
In my case I chose to have the rope 48cm long. With the loops for the knot, the leash is about 15cm long.
Step 2: Cut and melt the ends of the rope
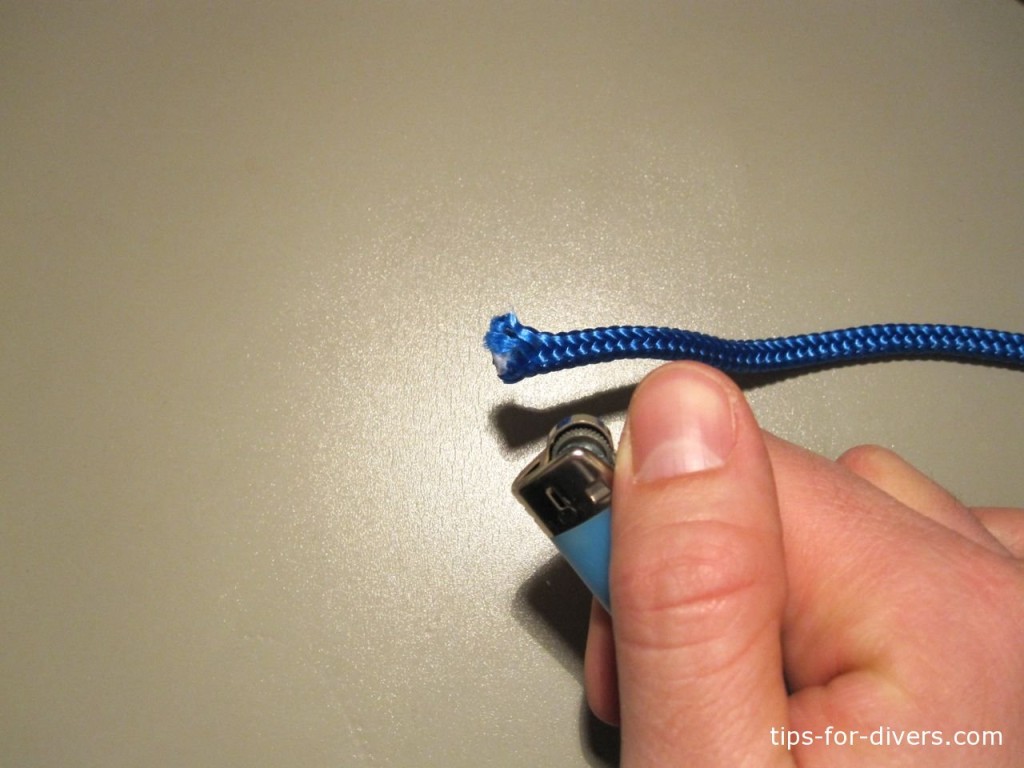
When you have measured the correct length, cut the rope. Then melt the ends of the rope with a lighter. This prevents the rope from fraying.
Step 3: Thread on the bend protection or tubing
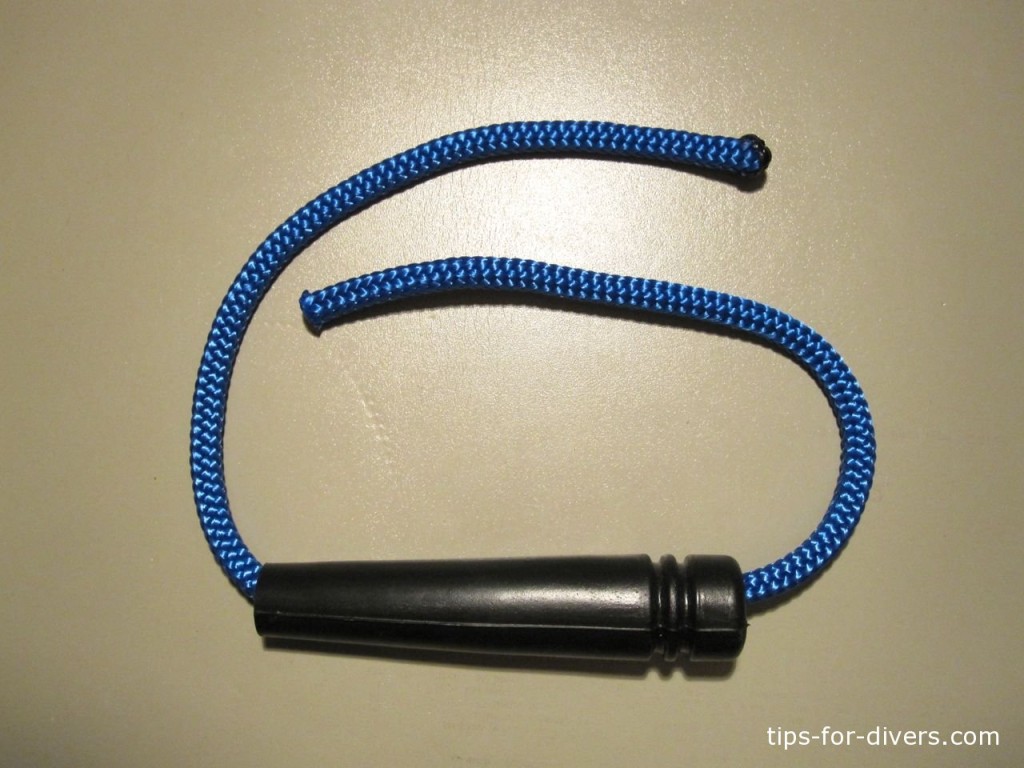
Now thread the hose protector or tubing onto the rope.
This is to prevent the rope from twisting and the faciliate the clipping of the stage.
Whether you used a piece of hose protector (surely everyone still has some at home) or a piece of tubing (e.g. thin garden hose), it doesn’t really matter.
Step 4: Knot the two ends
Knot the two ends of the rope to each other. For this purpose use a fisherman’s knot.
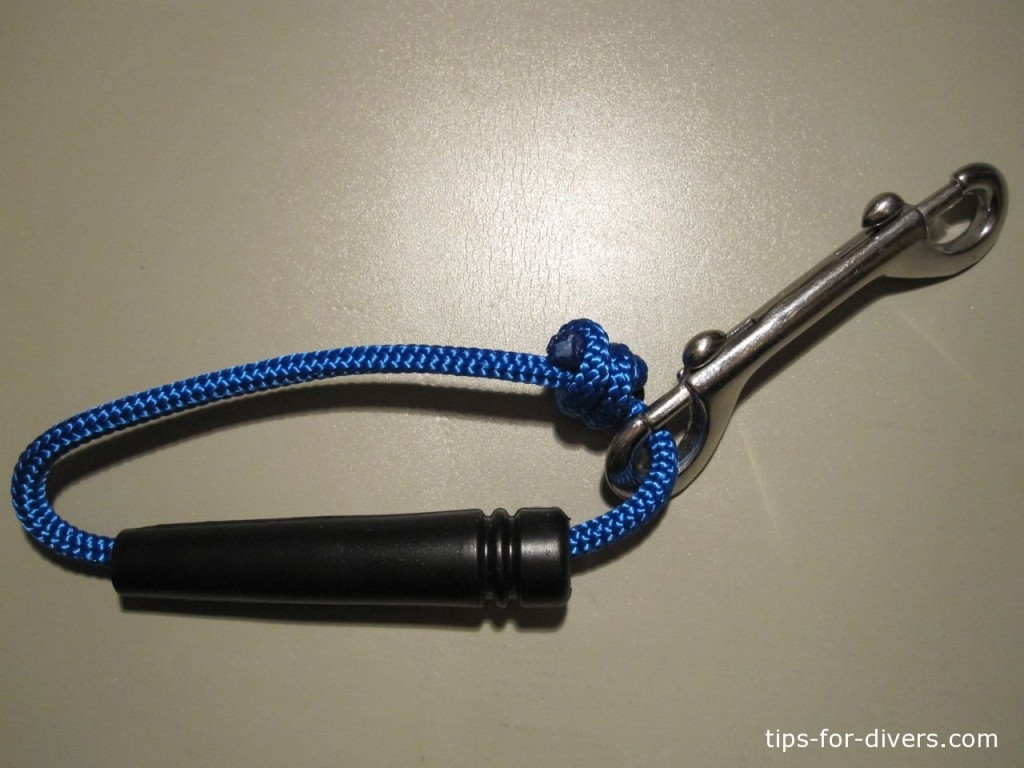
Result: The Leash
As a result you now have a leash onto which you can clip a stage bottle (or several) between your thighs with reasonable comfort.
If the leash is not needed, it can simply be placed in the left leg pocket of the drysuit.
End side note: I have also heard that the leash can be used when towing a diver with the scooter…but that’s another story.
Update:
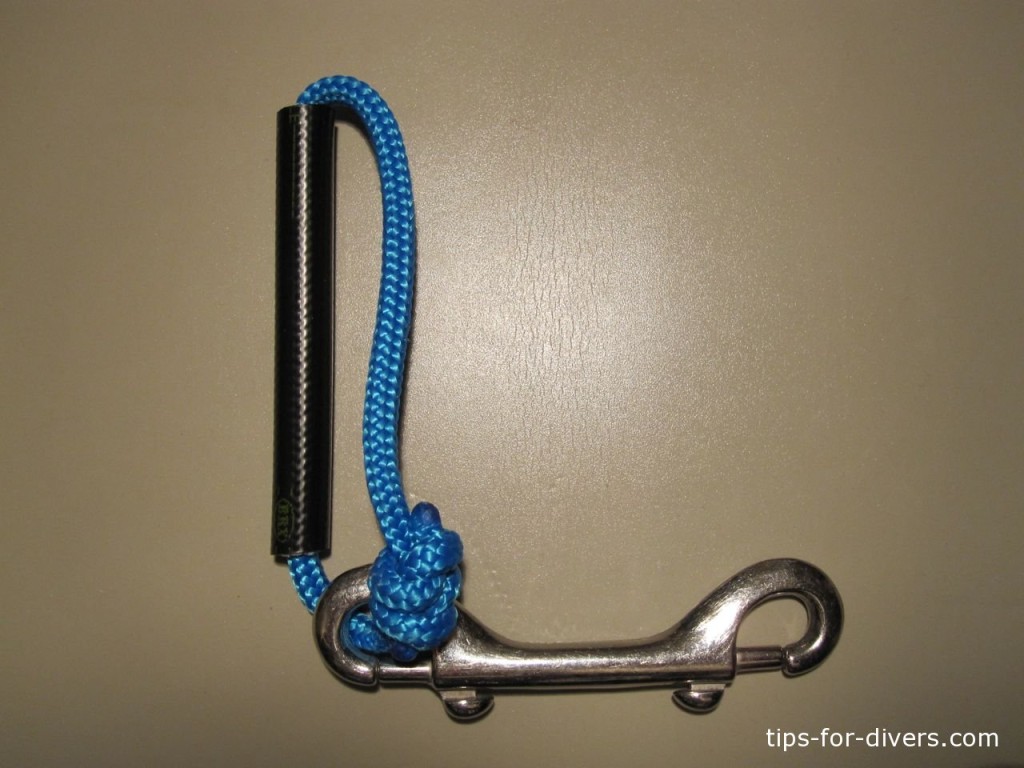
In the picture below you can see a leash made with a hose protector (left hand side) and a leash made with an low pressure hose (right hand side).
Related posts:


3 Comments
Leave a reply →