Worst-Case-Scenario for every drysuit diver is to spot a hole in one of the seals just right before he/ she wants to go diving. From my own experience I can tell that it will become very uncomfortable in a dry suit with a hole in the neck seal. If your dry suit does not have a seal system (which allows changing the seals very quickly) you could replace the whole seal (needs some time) or you can do a quick field repair!
There is a trick that can safe a dive even with a seal with a hole in it. How this works I will show you in this blog post.
Step 1: Find the hole
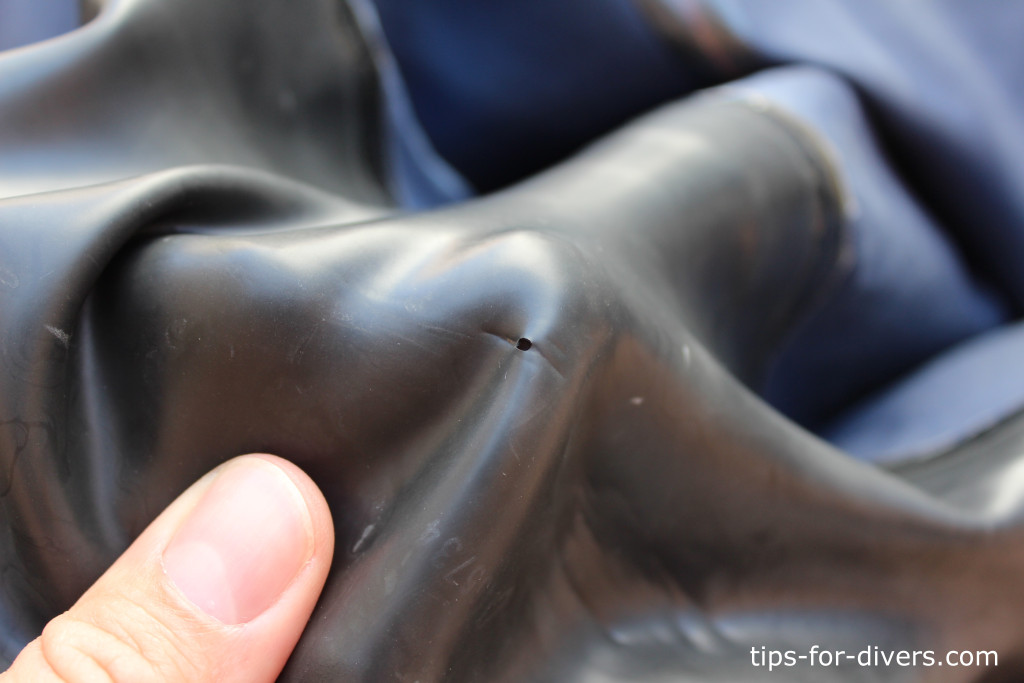
Before you start repairing the seal you have to check where exactly the hole is. Take the seal in both hands and stretch it carefully. Often you cannot see small holes in the seal if the seal is unstressed. But if you start stretching the seal carefully you will be able to find even small holes. Make also sure to check the area where the seal is attached to the dry suit!
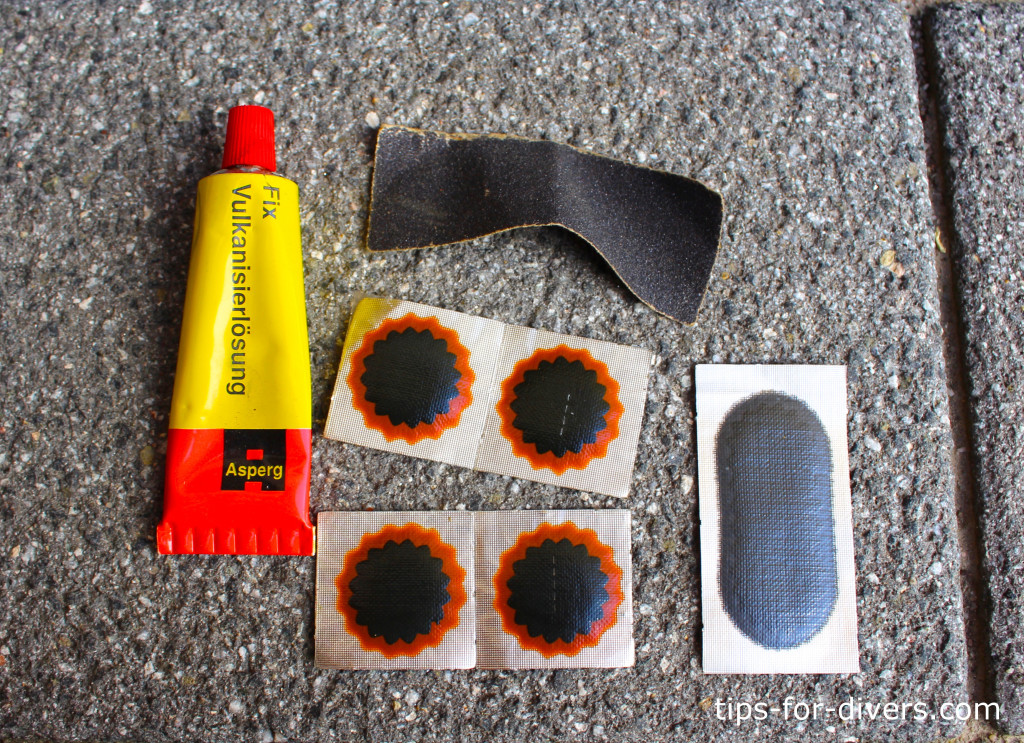
Repair Kit for bicycle tubes
All you need to repair a hole in your dry suit seal is a repair kit for bicycle tubes. You can find these repair kits in a bike shop, hardware store or online. They are sold for just a few Euros.
The kit consists of:
- A tube of adhesive for vulcanized rubber
- A piece of sandpaper
- Several patches
Adhesive for vulcanized rubber
The adhesive that is included in the repair kit is a special adhesive for vulcanized rubber. If you want to know more about “Vulcanization” please have a look at wikipedia. There you will find a detailed explanation. Advantage of these adhesives is that the material is still flexible. As you know the seals of a dry suit are stretched while putting them on and off. Therefore the material has to stay a flexible as possible – even with a patch on the seal!
Attention: The adhesive for vulcanized rubber softens the material of the neck seal during the process of adhering. Due to the fact that the hole will be covered by a patch this is insignificant.
Step 2: Abrade the material around the hole
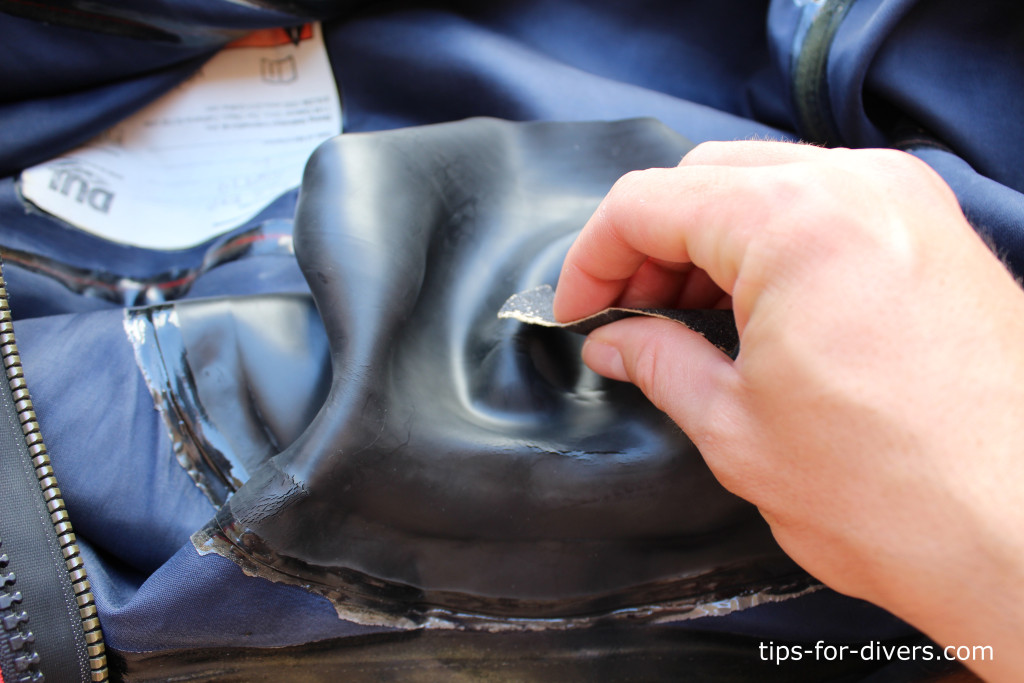
After finding the hole in the seal you have to abrade the material next to the hole. Therefore use the sandpaper. Just abrade as much material of the seal that will be covered by that patch.
Step 3: Glueing
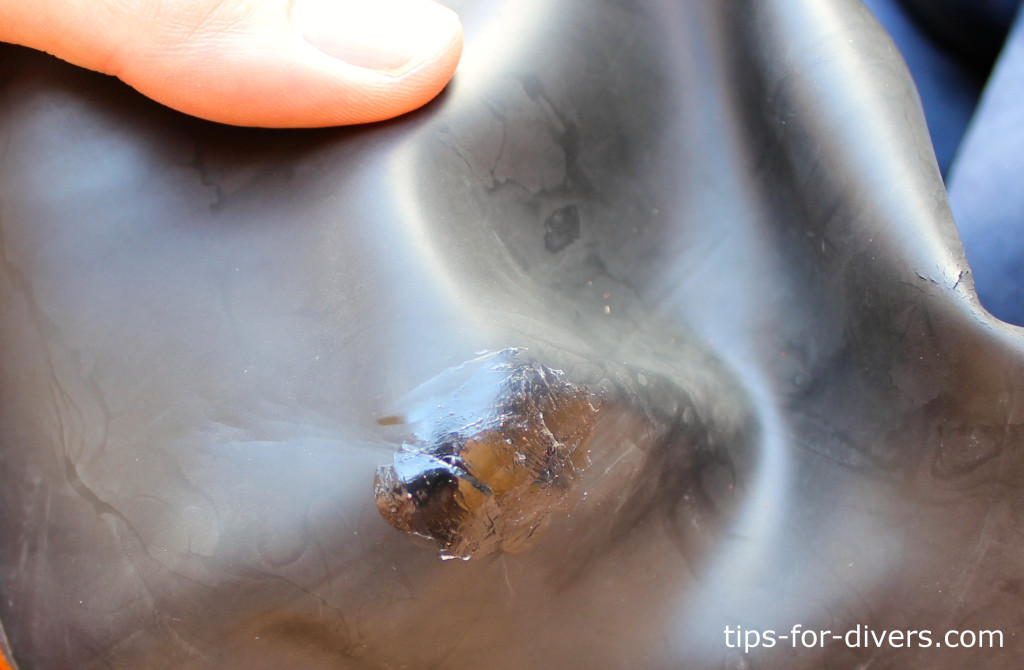
As a next step you put the adhesive on the abraded area. The adhesive has to dry a few minutes. More details on that can be found in the instructions of the repair kit.
Step 4: Attach the patch
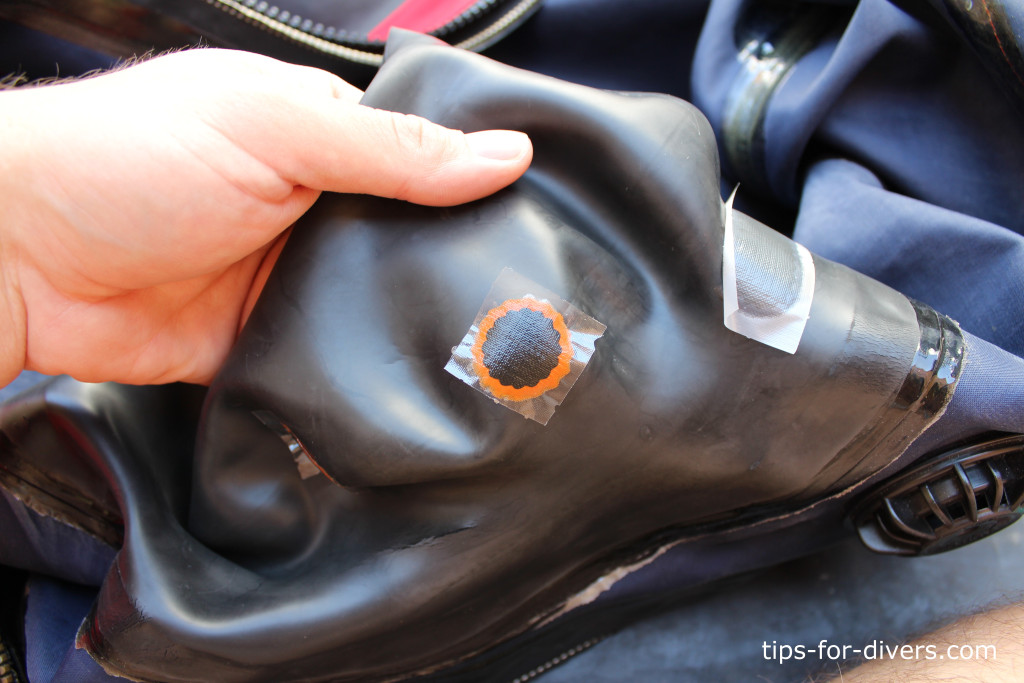
As soon as the adhesive has dried a few minutes you put the patch on it. The first pressure on the patch is very important!
After drying you can remove the protective sheet from the patch.
With this easy trick you can safe a dive very easily and even go diving with a hole in your seal!
Please be aware: During the first dive with the attached patch make sure the hole is sealed completely!
You could be also interested in the following blog posts:
Minor dry suit repairs
How to attach an Argon bottle
How to cut seals (dry suit)

3 Comments
Leave a reply →