When buying a new drysuit or when changing the seals before diving, you always have to cut the seals.
The seals on the arms and neck are present with drysuits to prevent the entry of water into the suit.
It is important when cutting, that you use a sharp pair of scissors. Blunt scissors tend to leave a frayed cut. These frayed sides are potential weak points where the seals could crack.
So if you have previously cut paper with scissors, these are not good enough for the cuffs, since blades can get blunt very quickly.
Step 1: The rings on the seals
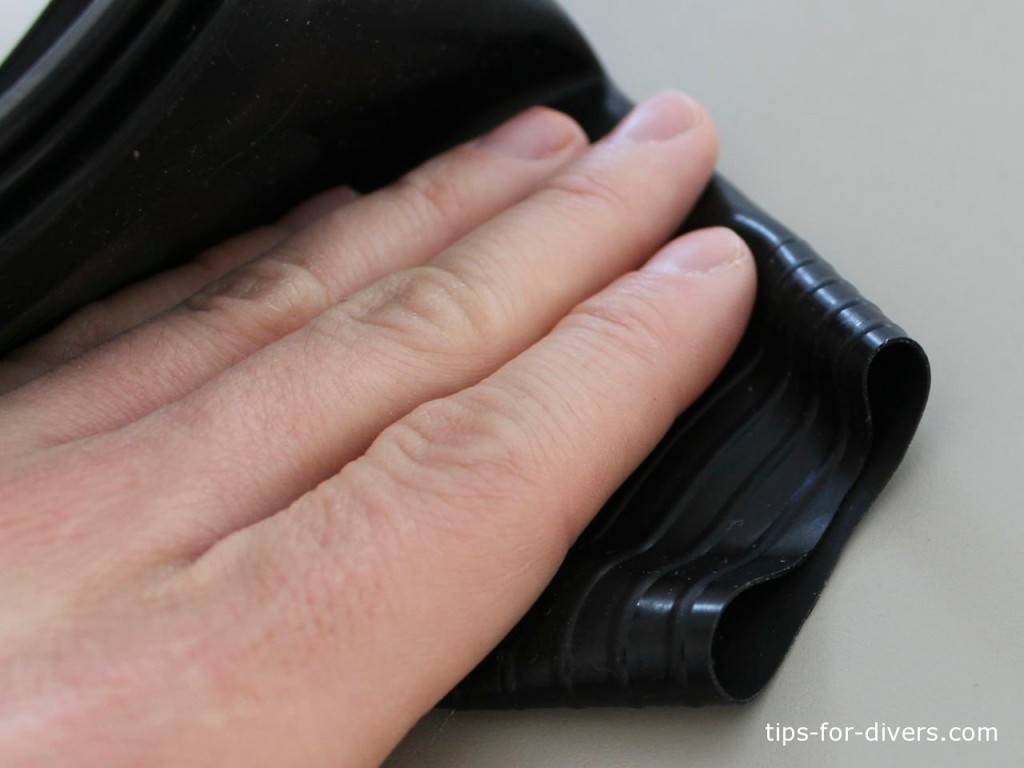
To aid you with cropping, nearly all drysuits seals have rings attached. The rings serve to give you a good orientation for cutting the seal venly. When cutting, you should always cut between two rings, NOT on them.
Step 2: Cutting the seal
To cut the seal, push it until nearly flat. The rings should lie on top of each other.
Keep a hand around the material to hold the seal as tight as possible, then with the other hand you can cut the material between two rings.
If the scissors are very sharp, you may be to do it without the cutting movements, since the scissors may slide through the seal material themselves.
Caution: Do not remove too much rings on the first cut! If you have cut off too little, you can simply cut another ring off. But if you cut off too much, you will need to invest in new seals.
Step 3: Fitting
As previously mentioned: Do not cut too much of the seal off. Preferably try it every now and again, if the seal fits. You can determine if you need to cut another ring off or not.
If you are not sure how far you must cut your new seal, remove a ring and try the seal one by one. If it is still too tight, simply remove another ring.
This tip applies for the arms and also for neck seal. The neck seal is certainly a bit more complex, after cutting off each ring, put the seal over your head, you then have the direct feedback as to whether the seal is still too tight!
The end result
If you have worked cleanly, then you should end up with a neat trimmed seal to your suit. The cut edge must be as smooth as possible. The better your cutting, the lower the chance that a frayed place on the seal will become a weak point.
Pay attention during the first dive, as to whether the new seal push on or restrict you. Especially with the neck seal, it is important that this sits comfortably. If it is too tight, it may even restrict the flow of blood to the head and this can be dangerous! Pay special attention here on getting a proper fit for the seal!
Too tight wrist cuffs means that the blood flow is also limited to the hands – and this then leads to cold hands!
The Scissors
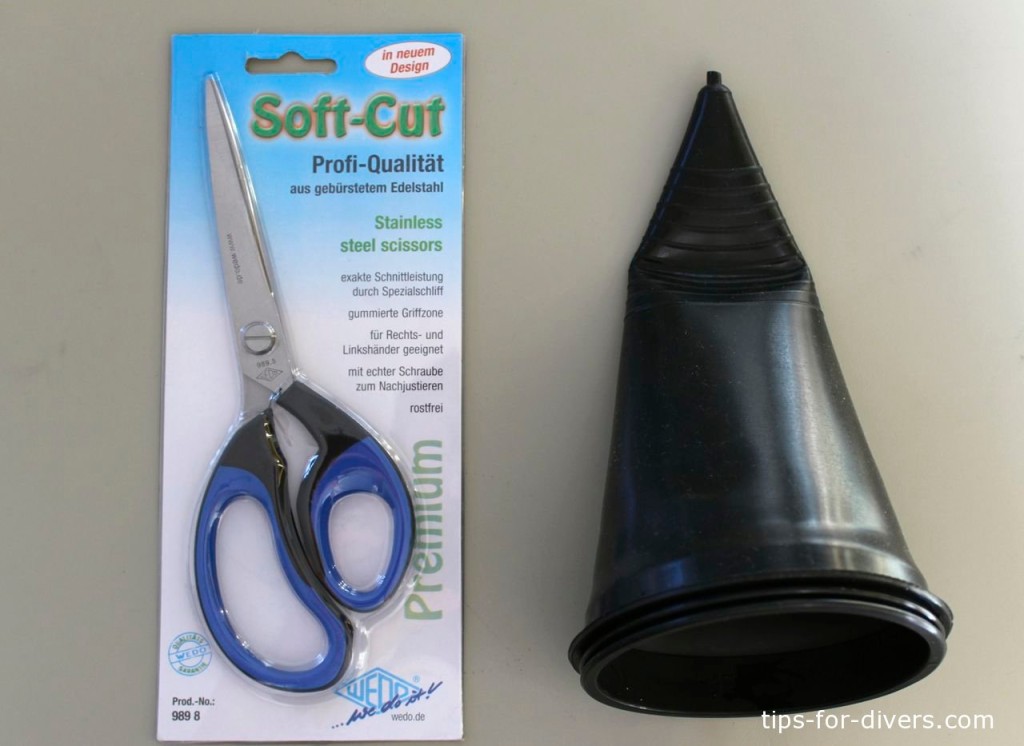
For cutting my new seals I got myself a new pair of scissors. The scissors should lie between the size of kitchen scissors (large) and craft scissors (small). Too large scissors are unwiedy for cutting seals in certain circumstances. Small scissors usually require a lot of “cutting action”, especially for the neck seals.
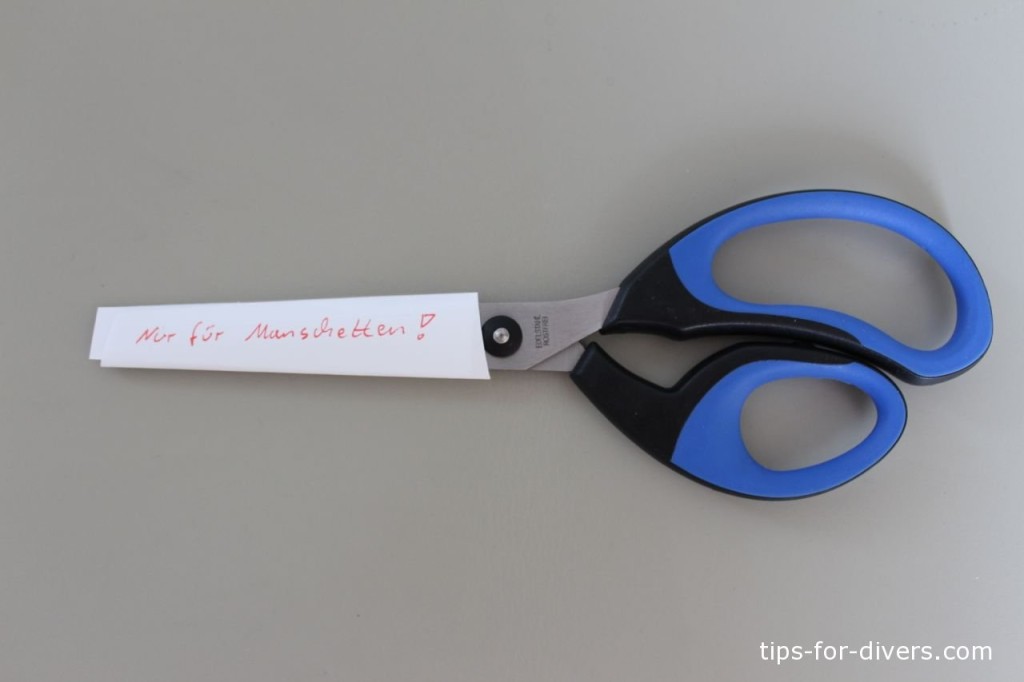
I have marked my scissors in order to avoid using them to cut paper. So I can be sure that the scissors are sharp when I next need to cut seals.


