

The DIR harness. All you need is …
The equipment configuration of the DIR philosophy is not currently an indispensable part of diving. More and more manufacturers offer products for this type of diving. And the training organisations are following suit. Here on “Tips for divers” there have been tips about DIR-oriented diving equipment since September 2013. In today’s article I want to – in my own opinion – introduce the most central piece of diving equipment in this configuration: The DIR harness.
The term DIR harness covers the metal back plate and harness that allows the diver to wear bottles on their back.
Since the DIR equipment is reduced to the max, the configuration of the harness is a bit spartan. As you can configure a DIR harness yourself, I would like to introduce in today’s article:
For the configuration you will require the following things:
- A back plate (steel or aluminum)
- A long piece of belt strap
- A belt buckle (metal)
- 5 D-rings
- 7 weight retainers (metal)
- A piece of bungee line
For the “fine tuning” you will need the following items:
- A knife (with a rounded tip) in a sheath
- A double ended carabiner
- 5 pieces of bicycle inner tube
- A second belt buckle
Step 1: Punching a hole in the belt strap

Step 1: Punching a hole in the belt strap
If you have not prepared your purchased belt strap for use with the harness, then in the first step you must punch a hole in the strap and reinforce this with a hole rivet.
The hole should be in the centre of the belt strap. It will later be placed over the upper hole of the back plate. When attaching the bottle by screwing, this hole will prevent accidental slipping from the harness.
You can get a suitable iron rivet and stud at the hardware store.
Step 2: Threading the strap into the upper part of the back plate

Step 2: Threading the strap into the upper part of the back plate
At the top of the back plate, you have two slots in the plate, one on each side. An upper, horizontal and an underlying one, where the hole is punched at a 45 degree angle. In the middle is the hole for the upper screw of the bottles.
You can now thread the belt through the 45 degree slots from behind, so that the punched hole is located in the harness, just above the hole in the back plate.
Step 3: Threading the strap through the upper slots

Step 3: Threading the strap through the upper slots
In the next step you should thread the strap from the front, through the upper, horizontal slots of the back plate.
With this the shoulder area should already be threaded.
Step 4: Attaching the chest D-rings

Step 4: Attaching the chest D-rings
After the belt strap is now fixed to the back plate at the top, it comes with two D-rings on the chest.
In addition, you will need a weight retainer and a D-ring for each. As you can see in the photo above, the D-ring is slightly bent. This prevents it from lying flat on the belt strap – a carabiner can be clipped on to this more easily.
First you should thread the belt strap through the first slot of the weight retainer, then through the D-ring and finally through the second slit of the weight retainer.
Step 5: Loop for the inflator hose

Step 5: Loop for the inflator hose
When you have attached both D-rings, you have a loop on the left side for attaching the inflator hose. The strap will be attached with the D-ring at the same height.
Step 6: Mounting the rubber loops to secure the backup lights

Step 6: Mounting the rubber loops to secure the backup lights
Before continuing with the threading, you should now pull the two pieces of the bike hose onto both sides of the harness. These are used when diving for fixing the backup lights to.
Step 7: Attaching the belt strap to the lower part of the back plate

Step 7: Attaching the belt strap to the lower part of the back plate
Now repeat the fastening of the belt straps onto the lower portion of the back plate. In the lower part of the back plate you have two slightly slanted slots on each side. The belt strap now needs to be threaded through these.
Firstly, from the front, through the innermost of the two slots.
Step 8: Fixing the belt strap with weight retainers

Step 8: Fixing the belt strap with weight retainers
When you have threaded the belt straps through the inner slot of the back plate on both sides, turn the back plate over.
Now thread a weight retainer onto the belt strap. When this is done, push the belt strap, from the rear, through the outer of the slots, to the front again.
The weight retainer will then rest on the back of the back plate and prevent the belt strap from slipping.
Step 9: Attaching the hip D-ring
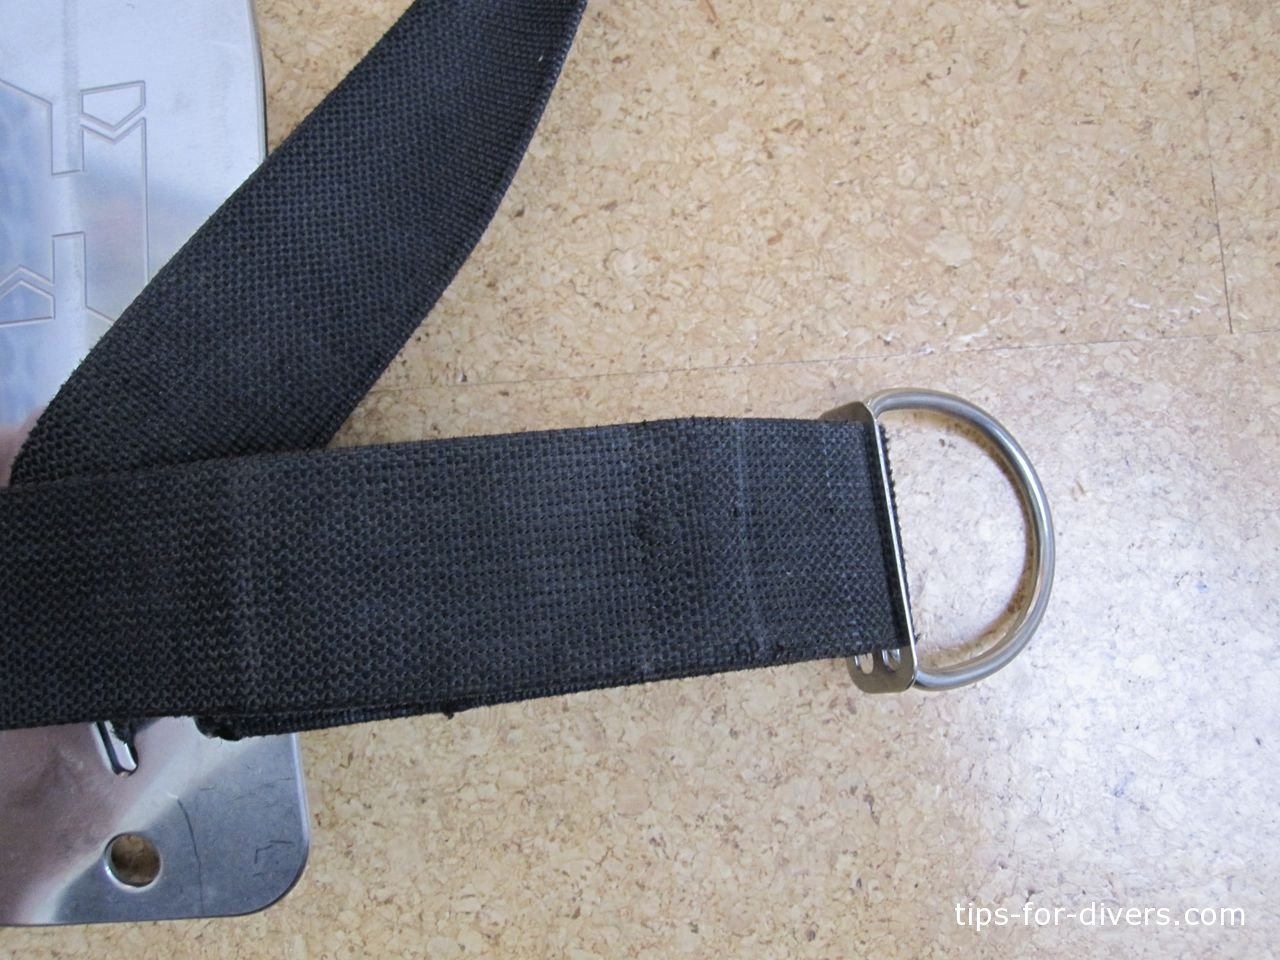
Step 9: Attaching the waist D-ring
In the next step you will attach the D-ring on the left side. For this, you should thread the weight retainer and the D-ring onto the strap.
The D-ring is located on the left side of the hip strap and will later be used for attaching the pressure gauge, stage bottles, etc to.
Step 10: Attaching the knive

Step 10: Attaching the knive
The knife is then threaded onto the left side of the waist belt. If the buckle is not mounted, this is much easier!
Step 11: Attaching the belt buckle
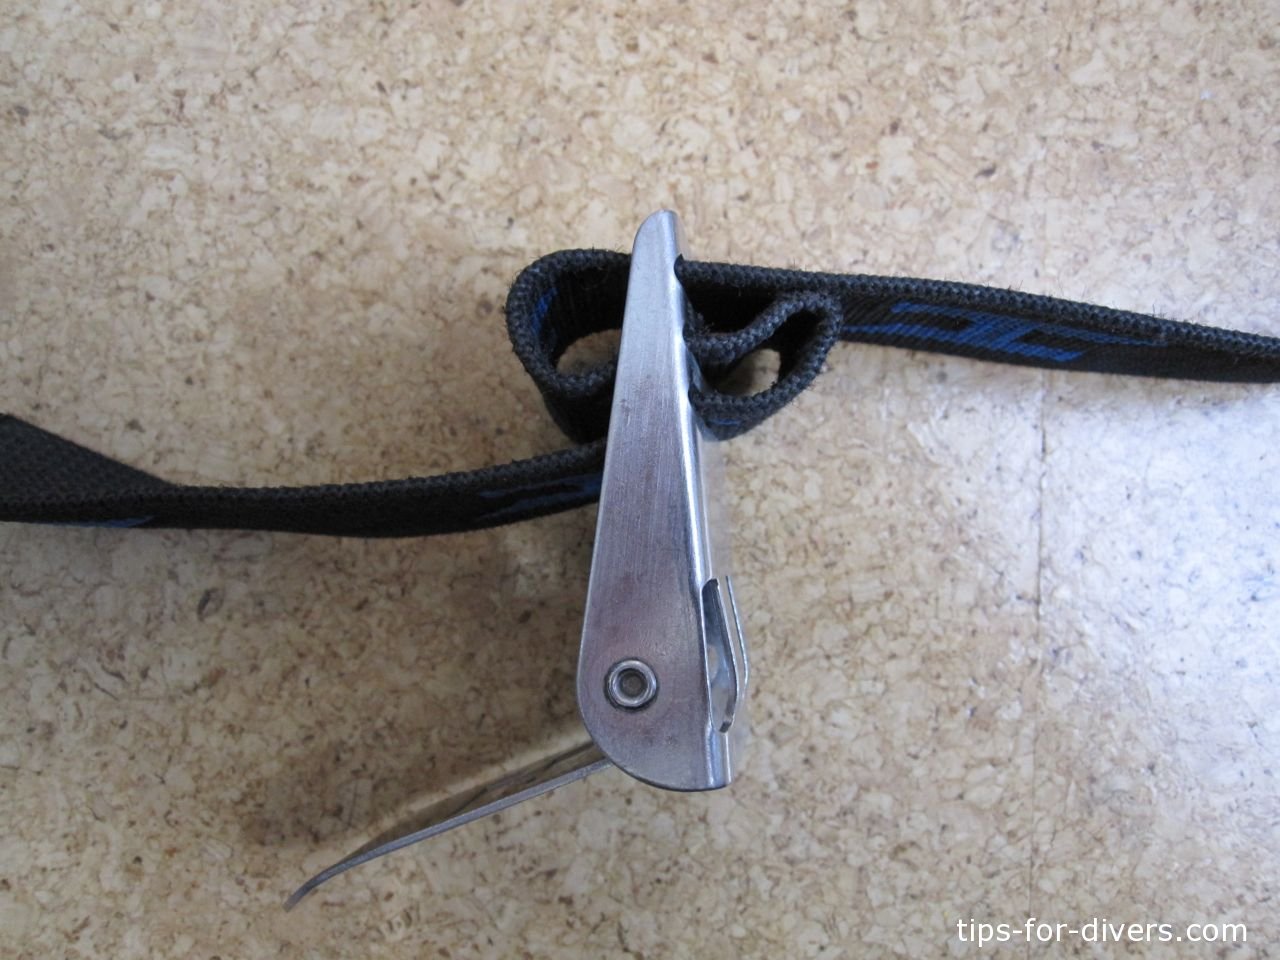
Step 11: Attaching the belt buckle
Now the buckle is mounted on the left side of the waist belt. Depending on how stiff the belt strap is that you used, it can be a little tricky. Here it may be helpful to make the belt strap wet beforehand.
In the picture above you can see exactly how the belt strap is threaded through the buckle. At the end you should thread the open end through the outermost slot of the buckle again. So then this is fixed.
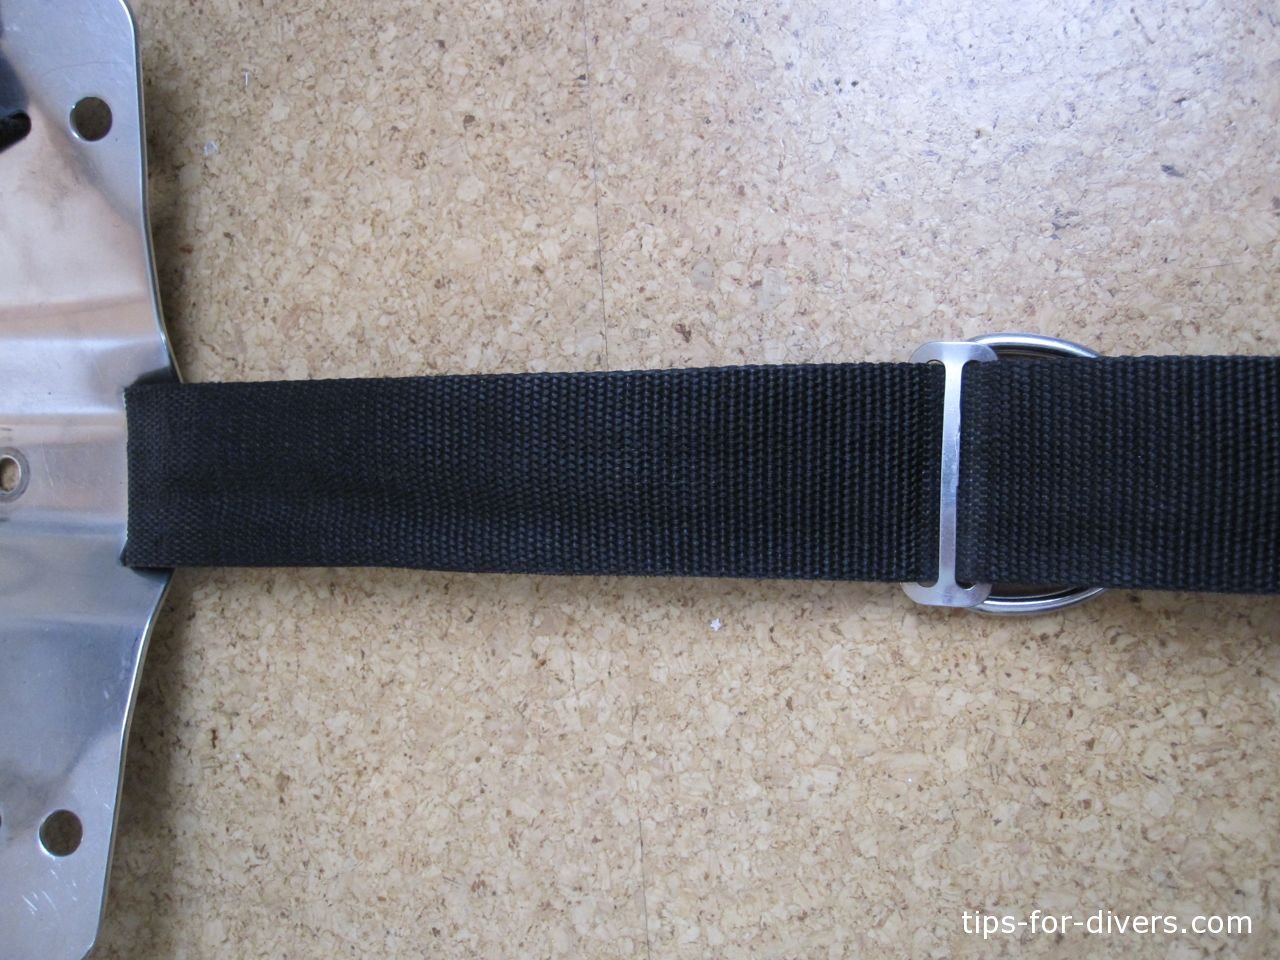
Step 12: The crotch strap

Step 12: The crotch strap
An important factor for diving with a wing and harness is the crotch strap. This prevents the “back pack” slipping in the direction of the head. In addition, the D-rings are often used for the attachment of equipment (lift bag on the back D-ring) or scooters (front D-ring) onto the crotch strap.
The crotch strap has a loop at the front into which a D-ring is sutured. Through the loop, the two ends of the waist belt are threaded during tightening – thus the crotch strap is fixed.
 A weight retainer and a D-ring are threaded onto the crotch strap at the back. Thread the strap through the lower horizontal slot in the back plate and then through the weight retainer.
Tip: Use a soft piece of belt for the crotch strap. The crotch strap moves between your legs during the dive and while in motion – if it is too stiff – it could cause chafing!
Step 13: Final Result

The DIR harness
You can see the final result in the picture above.
The DIR harness consists of the back plate and the harness, only five D-rings and a belt strap. It looks a bit spartan, but has everything you need for diving.
Shown here is the second belt buckle, which later secures the tank light. You can also see the double-ended bolt snap, hanging from the right chest D-ring and serves to temporarily clip the light head away.
If you have now configured your harness, you’ll need to adjust it, to make it even more ideal for you. Instructions can be found here: Adjusting the harness properly for the back plate