Does the supplied computer watch straps bother you and also cause a lot of fumbling, putting it on your arm before the dive? One simple possibility is to replace the standard strap with two short rubber lines. This has the advantage that, in the event that one of the two lines were to break, you still have a second and the computer is not lost.
For this type of attachment, there are two options and I would like to introduce you to both of them here:
Option 1:
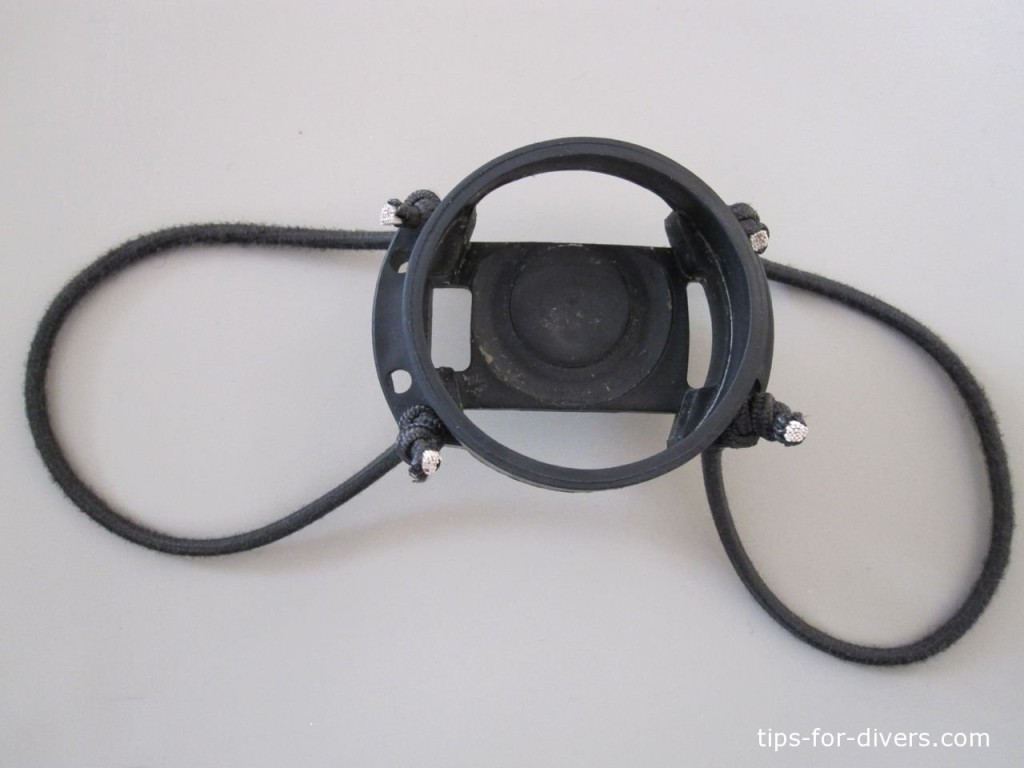
The first option is, you can buy a so-called DIR-Mount in a diving shop (DIR stands for “doing it right” and comes from a dive philosophy that orientated in U.S. cave diving). This DIR-Mount is a plastic case, in which the dive computer can be used, with two attached rubber lines, with which you can then attach the dive computer to your arm.
A small disadvantage is that you can not buy a DIR-Mount for all dive computers. Before you buy one, decide on whether your computer is suitable.
Option 2:
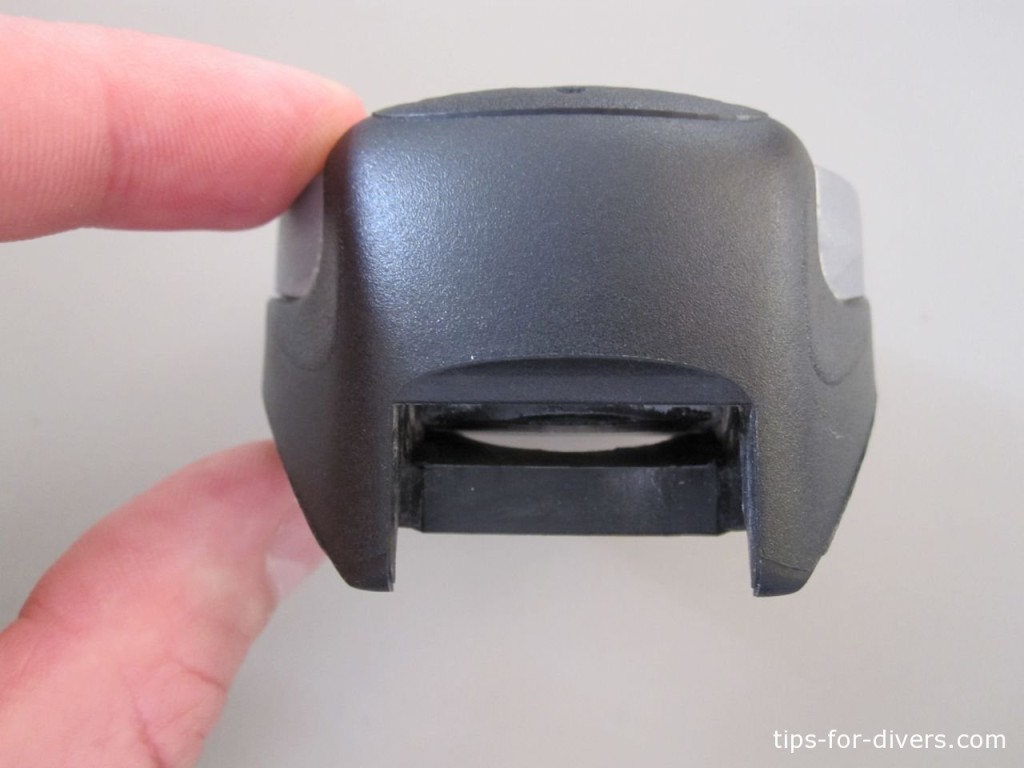
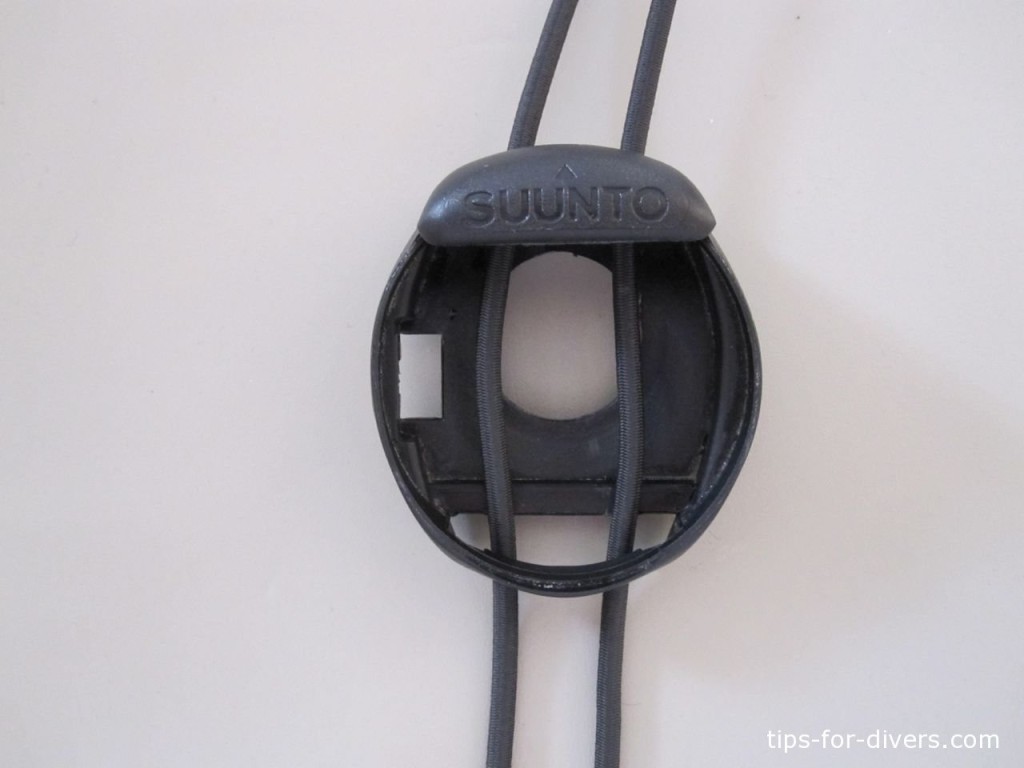
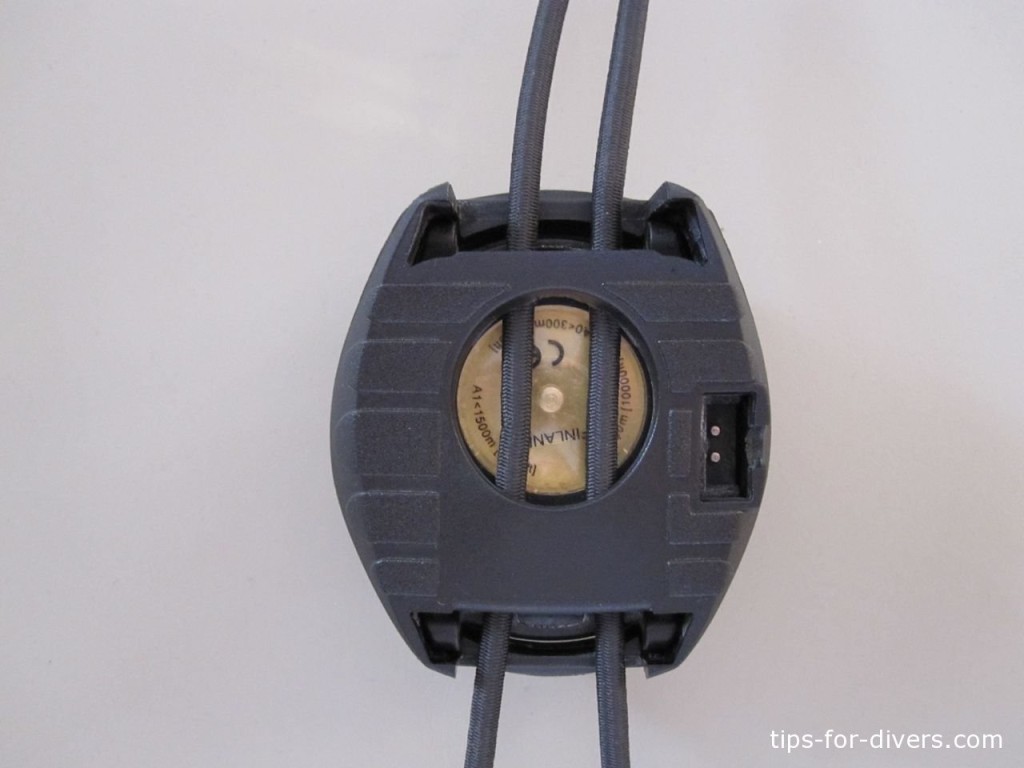
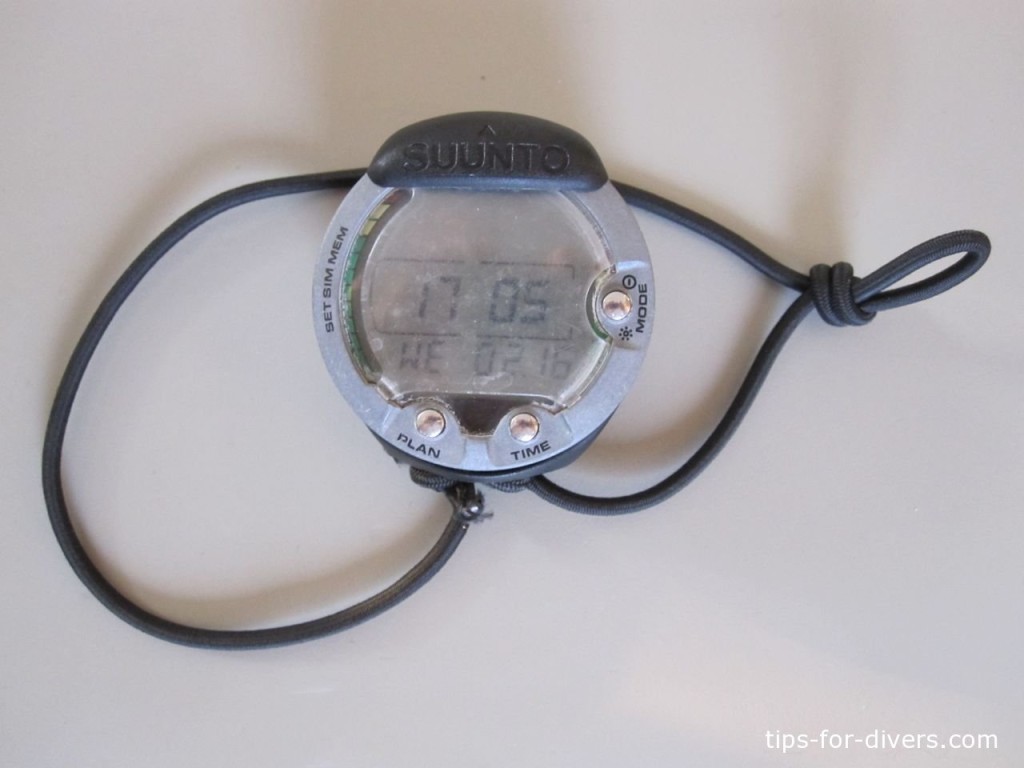
The second option is to directly attach the existing plastic housing of your diving computer with two rubber lines (picture above, is an example with the plastic housing of a Suunto Vyper). To do this you have to remove the computer from its capsule housing. You can find how this works in the manual.
Step 1: Cut rubber line
For the first step, you need two equally long rubber lines, these will later attach the dive computer to your arm.
Tip: To estimate the length it makes sense to put the rubber line around your arm. The thickness of the suit and lines for the knots need to be taken into account! Then put the lines through the plastic casing.
Step 2: Install the computer capsule again
Next press the computer capsule back into the plastic housing. Make sure that the rubber lines are not aligned, but a parallel between the plastic housing and the computer capsule.
Step 3: Tie rubber lines
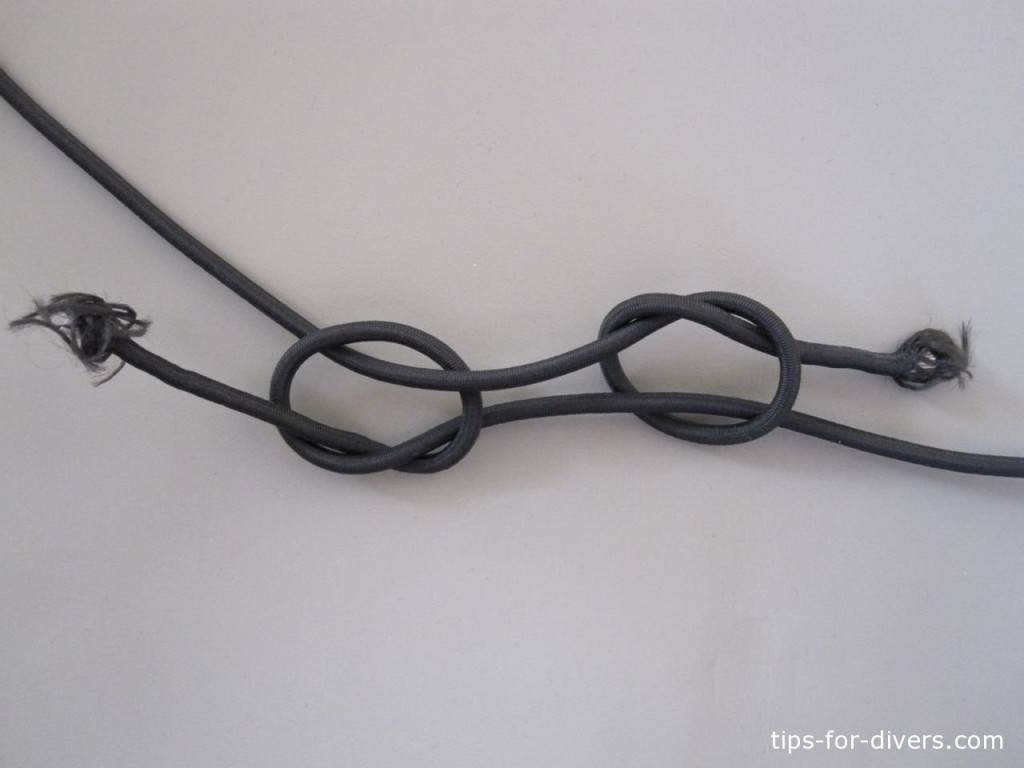
In the next step, you have to tie the rubber lines to create two loops. Here, the so-called “fishermen’s bend” (hope that’s the right name!?) knot works quite well, since I becomes tighter under stress and is quite difficult to open. If you have knotted the ends, cut off the protruding ends and burn the frayed ends with a lighter.
As result, you have one dive computer that’s easy to put on and is doubly safe on your arm.
Tip: If you are using a thinner diving suit and the rubber lines are far too loose, you can just add a temporary knot in the rubber line, as seen above.


