Even if the suit is called “dry suit” you will have some water inside from time to time. This could be sweat (e.g. due to warm water temperatures) or it can be a leak. If it is a leak you have some opportunities to repair the dry suit on your own. With this article I would like to introduce some quick checks to you!
Upcoming posts will then show you how to do some minor repairs on your dry suit.
Dry Suit checks
If you retrieve your suit from the summer break, or want to indulge in a little checking on your all-year drysuit, there are a few things you should look out for.
Take some time, grab your dry suit and have a close look on it. Going from the outside inwards is best. Look to see if you can see any abnormalities from the outside (holes, damaged seams, …). If everything is okay, turn the suit inside out. In particular, you should check the following things in more detail:
The Dry Suit
First you should consider the dry suit as a whole. Are there any obvious holes visible anywhere? Is the material roughened or chafed in certain places? Look at the suit’s material both from the outside and also from the inside.
Seals
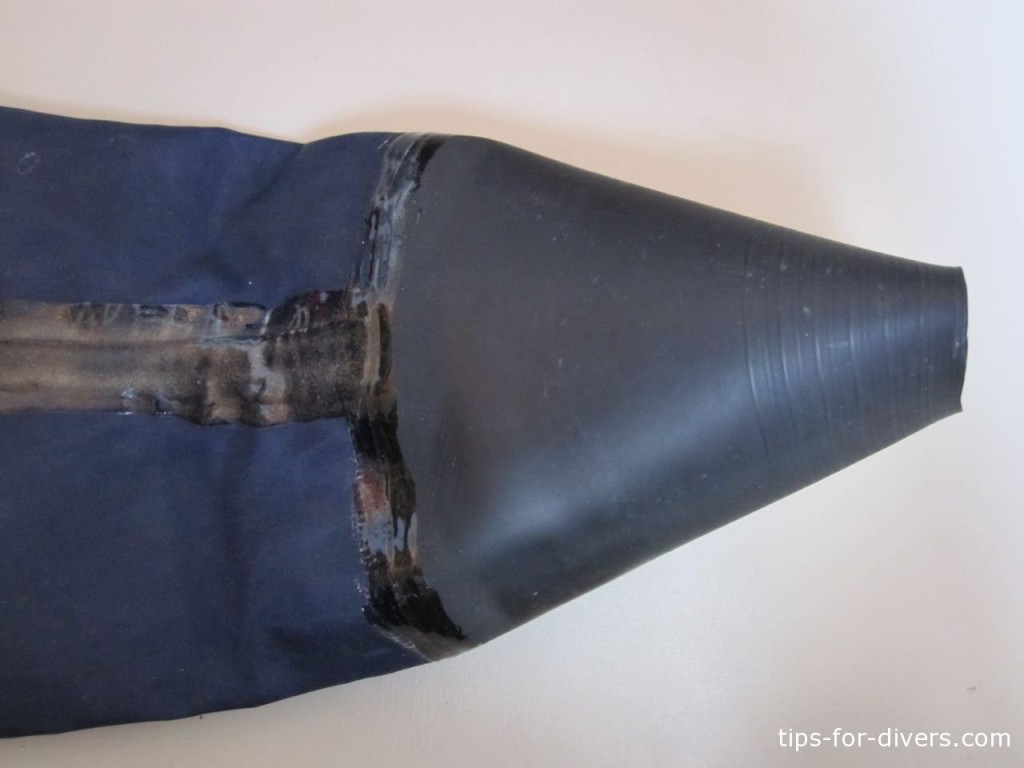
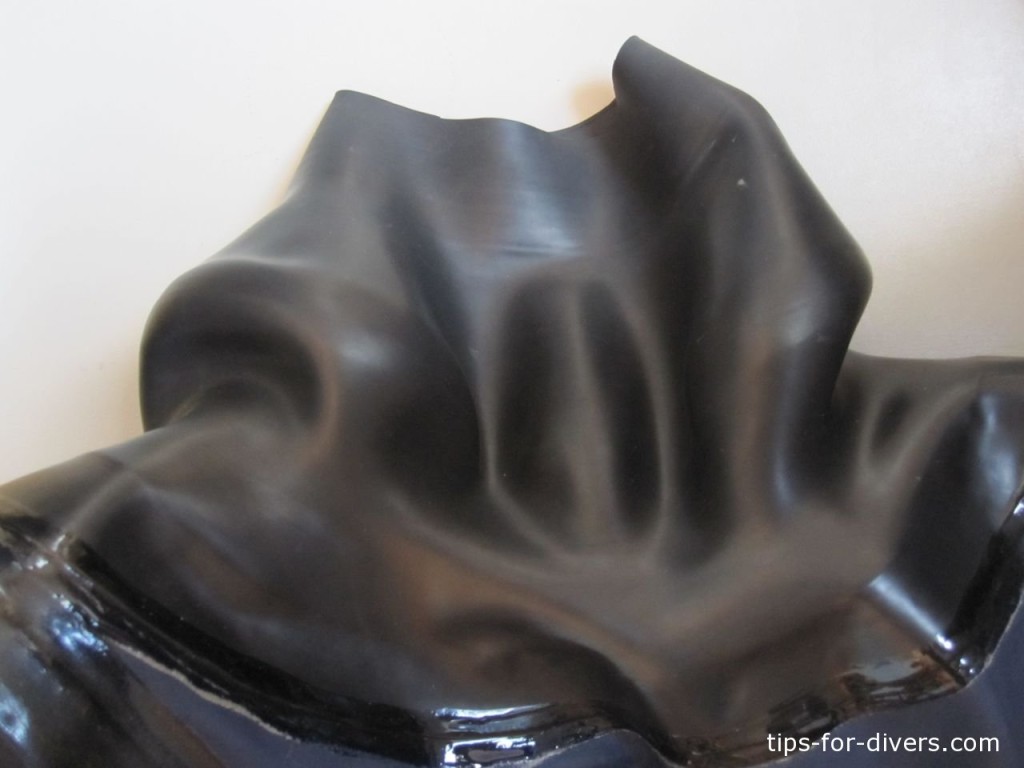
The seals on arms and neck are very important on a drysuit. Are they old, porous or have a hole or crack in them, so that water can penetrate through the suit?
While assessing the seals, pull them in all directions.
If everything is fine with the seals themselves, you should also look at the adhesive surface where the sleeves are fixed to the suit. If here, the adhesive has loosened or the seal is loose, there is a possibility that water could penetrate it.
If everything is okay, look again at the upper edge of the seal. If small cracks or small incisions are present (from cutting the cuff) this can quickly lead to the cuff tearing.
Valves
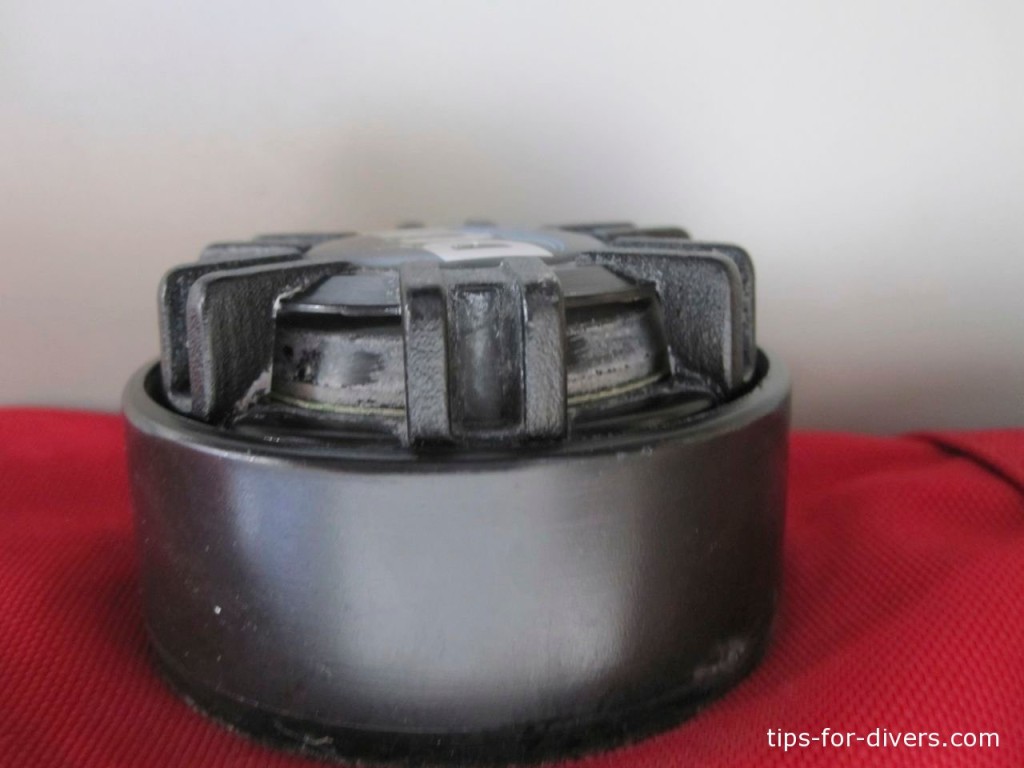
In the next step you should look at the valves on the dry suit. Both the outlet and inlet valves should be stuck to the suit. If the valves are loose, water can penetrate into the dry suit.
Take a first look at the outlet valve from the outside. Do you recognise any impurities on the inside? These can be created under certain circumstances between the membrane. This will cause the consequence of the valve leaking.
Look at the outlet valve, also from the inside. Are there perhaps fibres from the undersuit trapped in the valve? This can also occur and make the valve leaky.
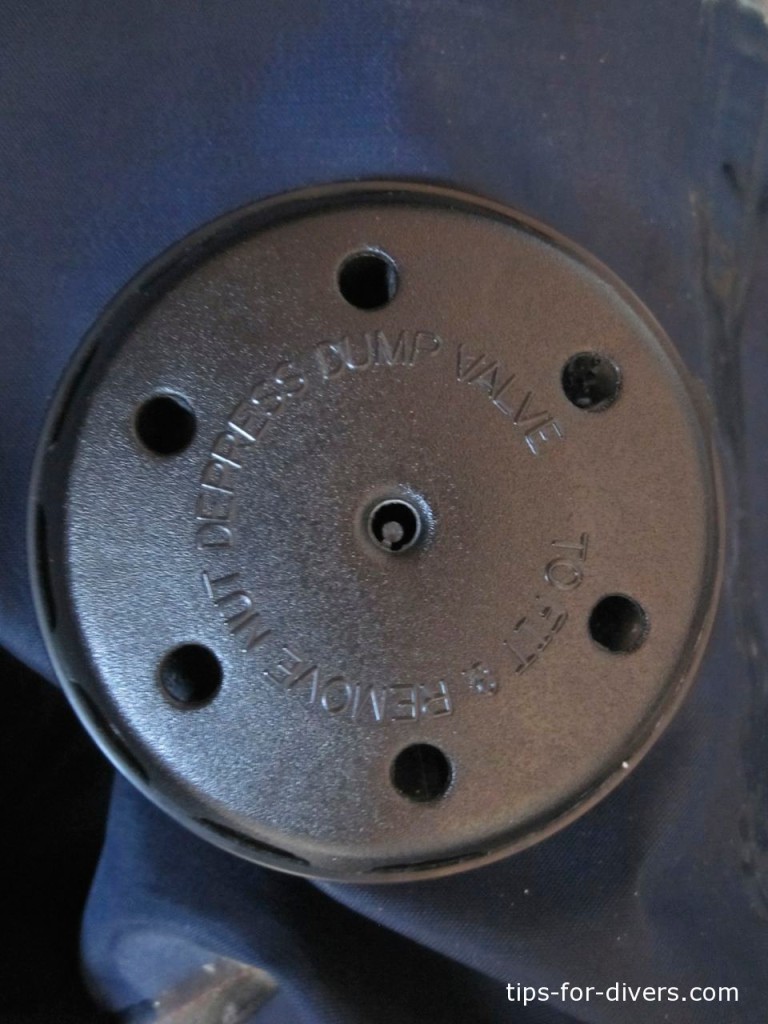
Your inlet valve controls whether this is tight. You can also check whether the button, that allows the gas to flow into the suit, works flawlessly. If this is not the case, it may be that the valve is dirty on the inside.
If you have carefully checked the valves, and have already turned the suit inside out, you can now check seams and adhesion points of the suit.
Seams
There are several ways in which the suit is processed. Some manufacturers sew the different parts of the suit and then seal the seams from the inside with an adhesive (e.g. Aquasure). Other manufacturers glue a band onto the seams from the inside, this seals and protects the seams.
Regardless of how your suit is stuck inside, check the seams and the glue carefully. If a seam is solved, it can quickly lead to a leak in the suit.
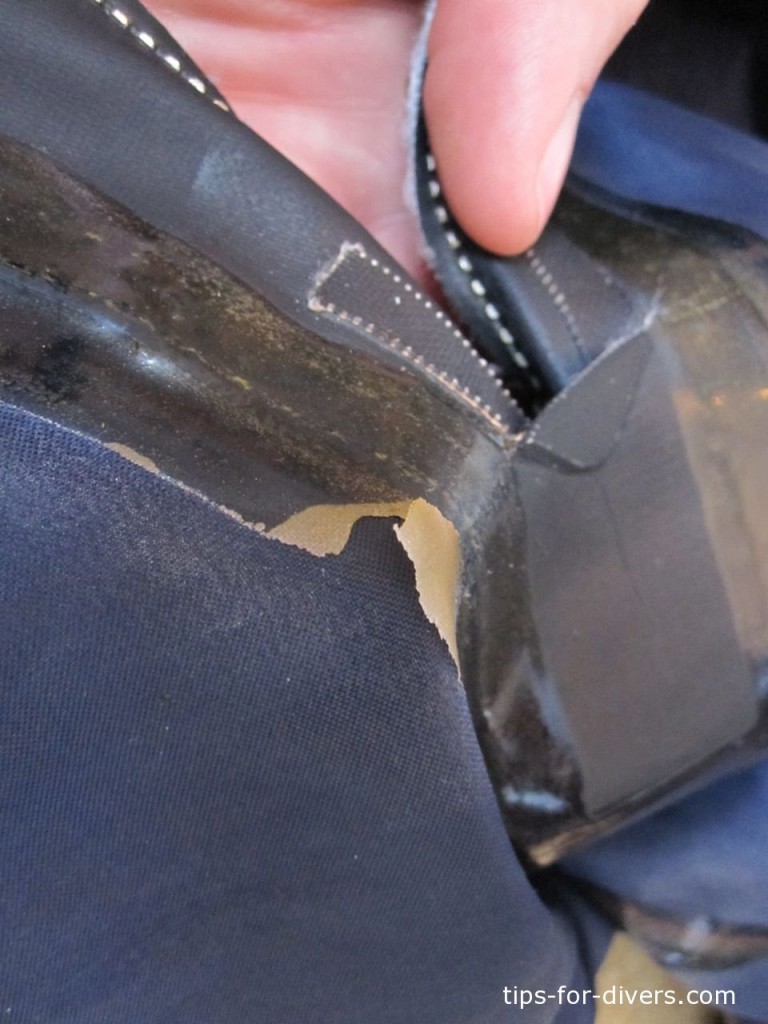
In the picture above you can see how a part of the adhesive that was stuck from the inside of the seam has solved. In this case, it is not a big problem, since it does not run along a seam. But if the adhesive solves further, it can lead to a leak.
Crotch belt
If your dive drysuit has a so-called telescopic torso (this allows for more suit material, an easier on-and-off) also check the crotch belt of the suit. This should be firmly attached to the suit. The belt itself should be in good condition, i.e. have no cracks or appear worn out.
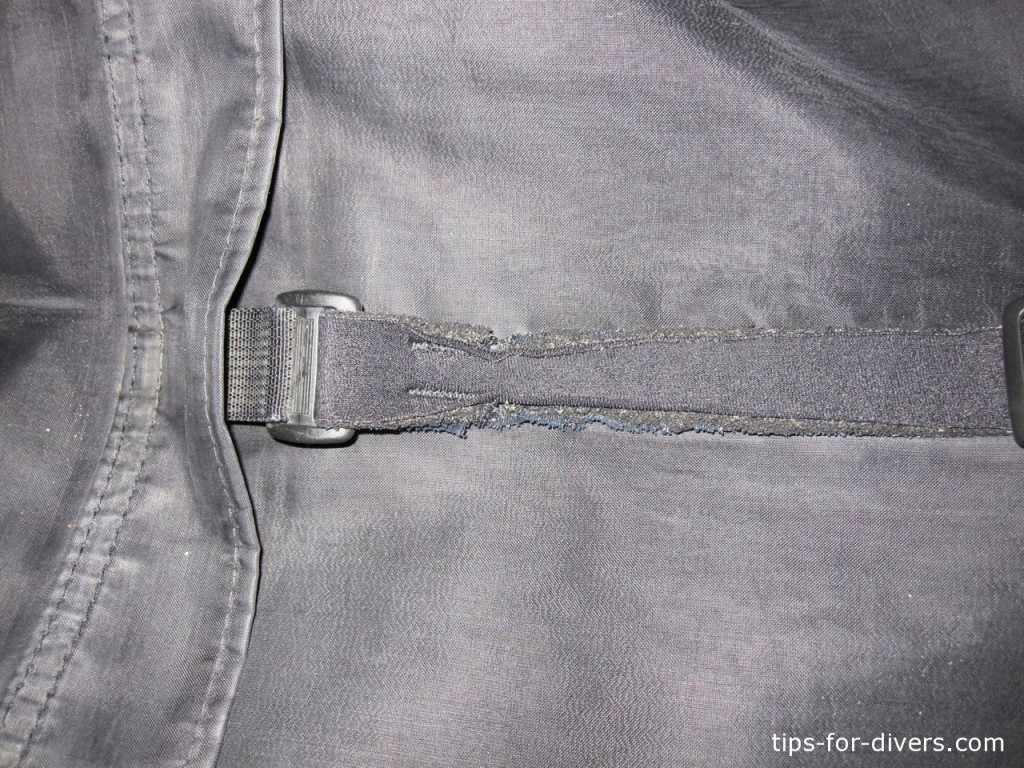
The crotch belt in the picture above already shows some weaknesses. It should be replaced in the foreseeable future.
Braces
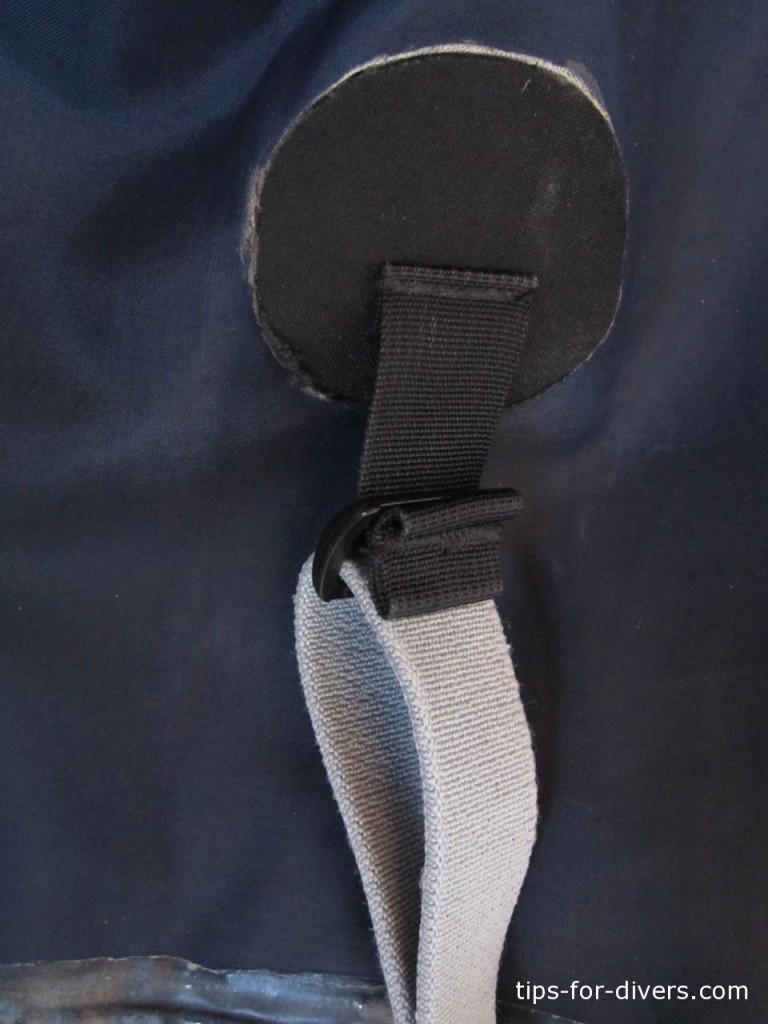
If your dive suit has suspenders, then you should also look at these closely. Are the braces still faultless. Or can you see any places where the rubber is already worn out on the suspenders? Wearing the braces adds to the snug fit of the suit. They should therefore be given a little attention from time to time.
The point at which the suspenders are glued to the suit should be checked. Are they still glued on properly or is the compound already solving in one place or another?
Pee valve
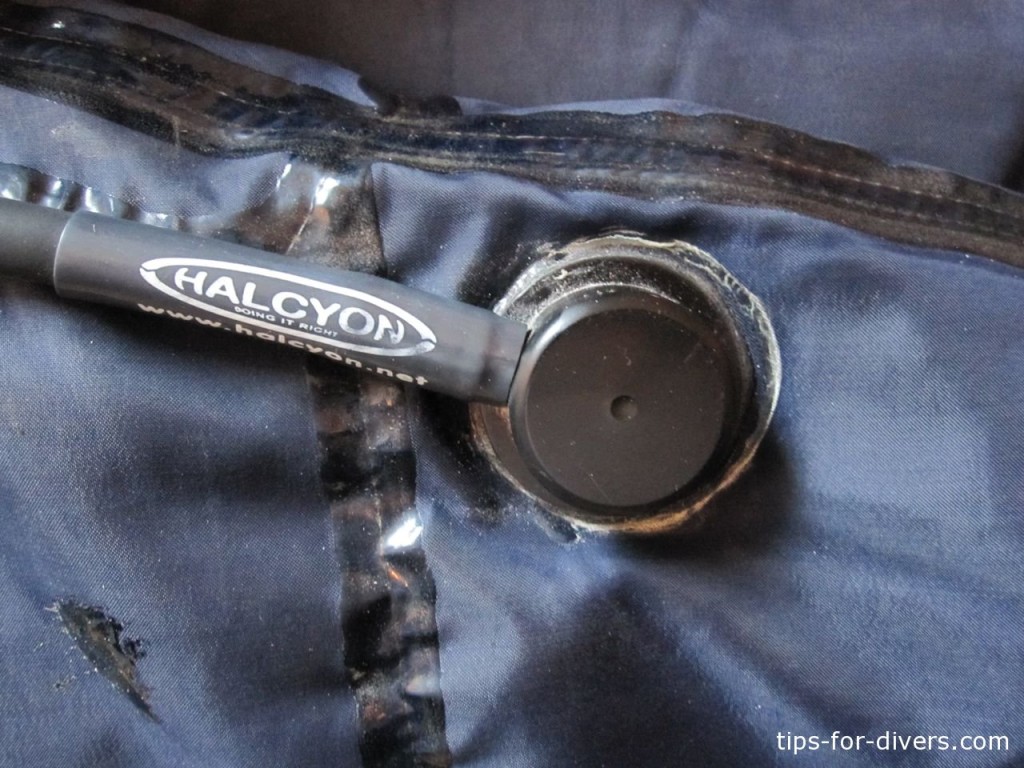
You should even dedicate a glance to the pee valve. Again, pay attention here to the gluing. The valve must be stuck to the suit and should not be able to move. If the adhesive has solved, it is possible that water could get inside between the valve and the suit material.
If your pee valve is not glued down anymore, check that the fitting is fixed and the sealed O-rings are placed in the right place.
Eventually you can clean the valve after a long break from diving. This offers the chance for a light disinfectant or vinegar essence (diluted) to be applied.
This was just a short overview on how to check a dry suit for damages. The more you dive the suit the more often you will have minor issues with water in the suit. Therefore these quick checks should be done from time to time to remain you suit in a dive-ready status.


