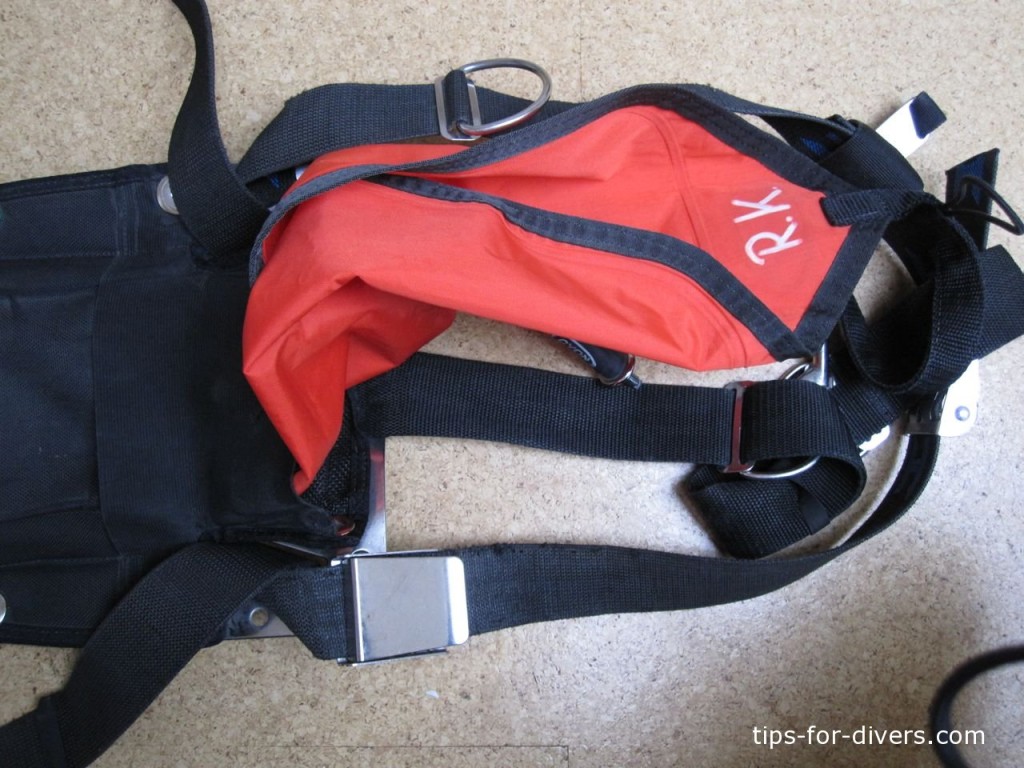
A lift bag, can be used for various taks by divers. The lift bag is always used in conjunction with a spool. Firstly it is used as a marker on the surface. Attaching a line to the line bag can serve to stop decompression. Or you can use the bag to retrieve things from the depths.
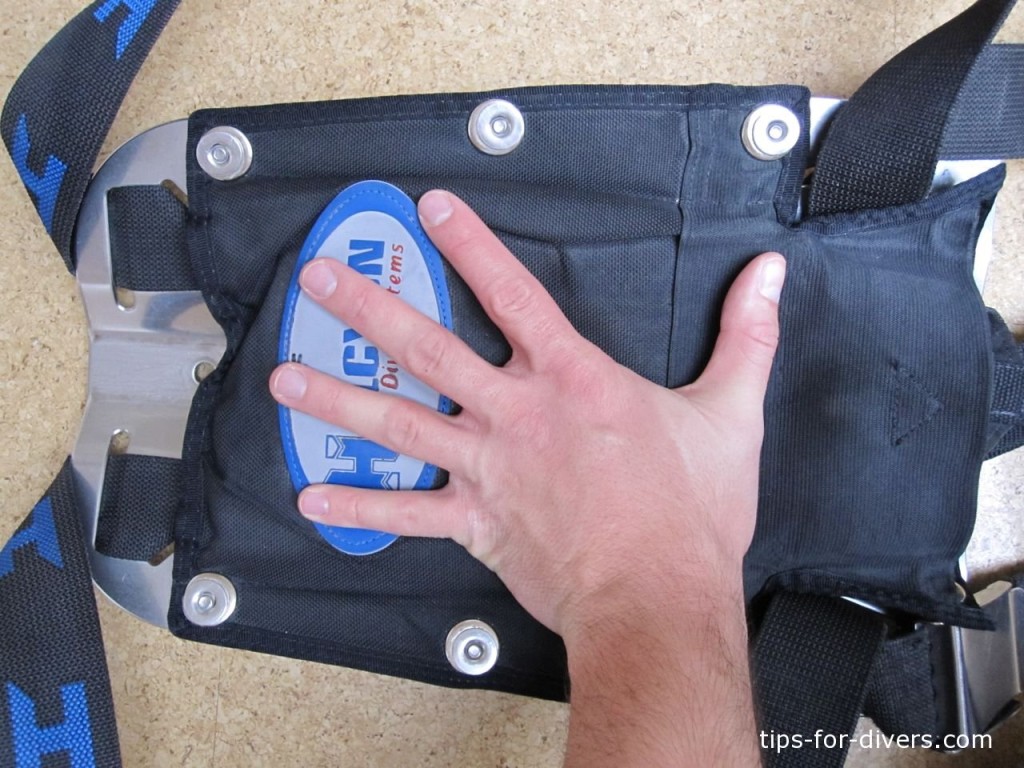
If you have attached the Storage Pack to your back plate, there is a simple, but very comfortable way to fold the lift bag and store it in the storage pack. This saves you considerable space in your leg pockets.
Step 1: Rotate lift bag upside down
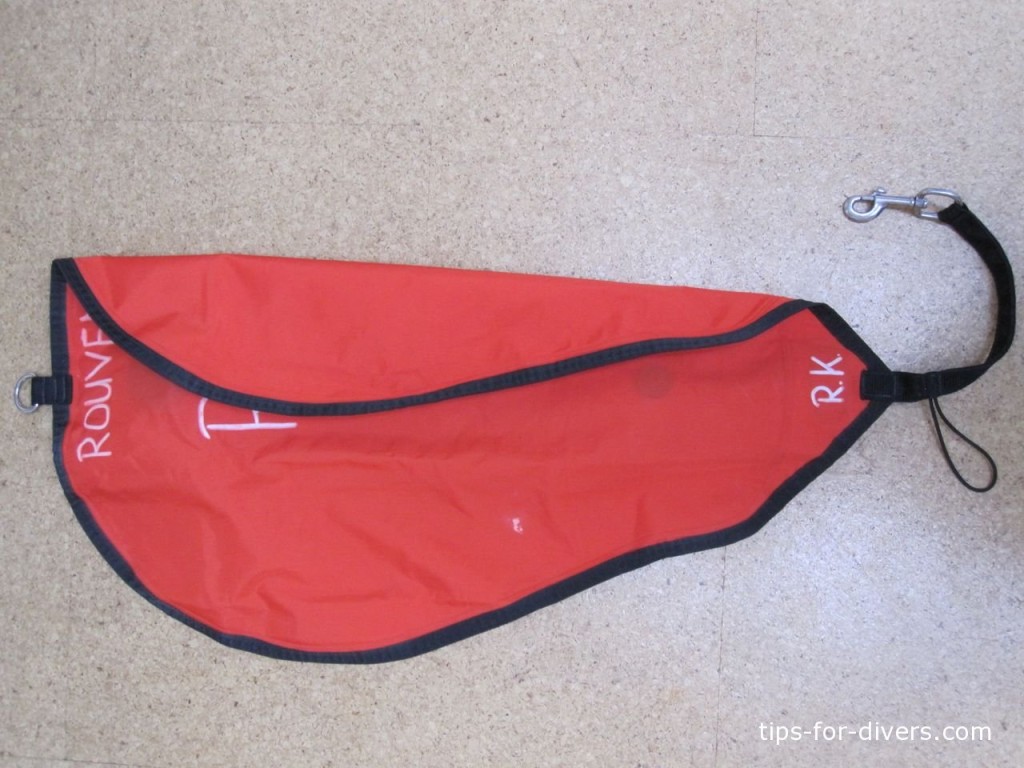
Shown here is the lift bag by the Halcyon company, it’s a so-called closed lift bag. Gas only comes through the inlet valve in the lower area into the sack, either via the inflator of the drysuit or from the mouth. At the upper end there is an outlet through which, you can vent the lift bag.
In the first step, you will need to rotate the lift bag round onto its “belly”, so that the valves are facing downwards.
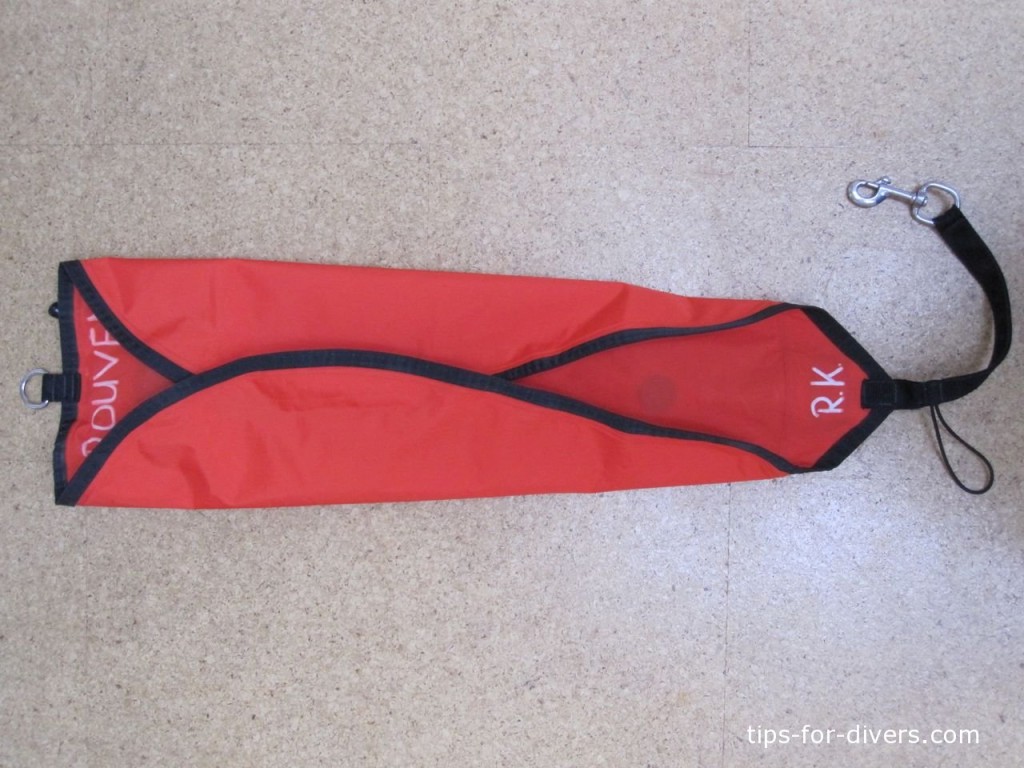
Step 2: Fold sides
To get the lift bag the same width as the storage pack, you should start by folding the side of the lift bag in. You should fold approximately a third inwards.
Important: Before you begin folding, you should ensure that no residual air is present in the lift bag!
Step 3: Fold second side
In the third step, you will now have to fold the second side of the lift bag inwards.
So now, you have brought the lift bag down to a third of its size. This approximately corresponds to the same width, that the storage pack has.
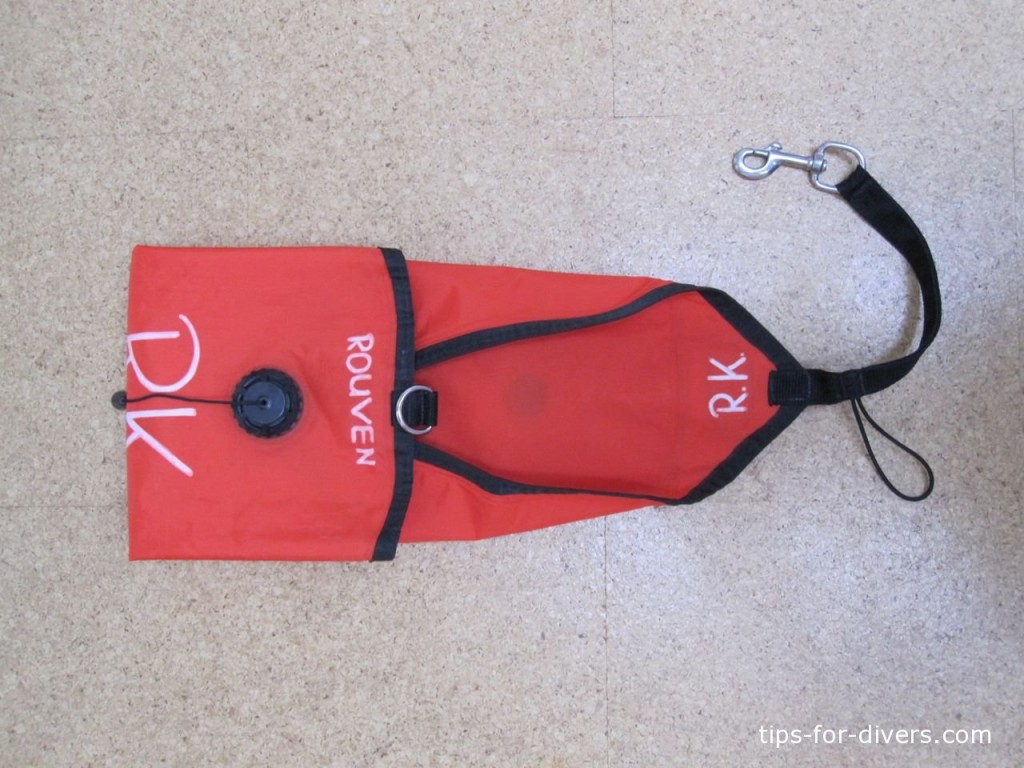
Step 4: Fold the top third with the outlet valve on the inside
Once you now have the lift bag folded to the correct width, you still have to shorten it lengthways.
To do this, fold the upper third with the outlet valve on the inside. The image above shows how it should look.
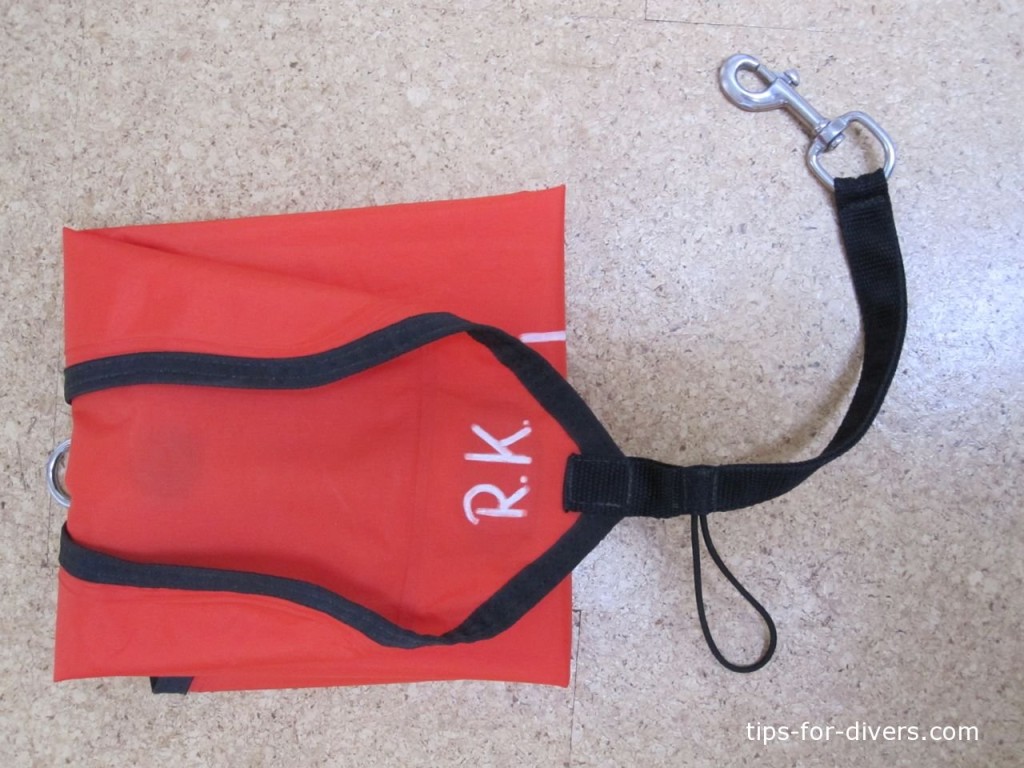
Step 5: Last folding step
Now comes the final folding stage. Your should work the upper third of the lift bag down. This means that the outlet valve now points towards the ground. From the folds, the lift bag will now be reminiscent of an accordan. Because of this zig-zag folding, the lift bag can easily be pulled from the storage pack, at a later date, while under water.
Here it you can clearly see on the photo: At the end of the folding process the outlet is located at the bottom.
It will fit perfectly into the groove of the back plate.
Step 6: Storage Pack
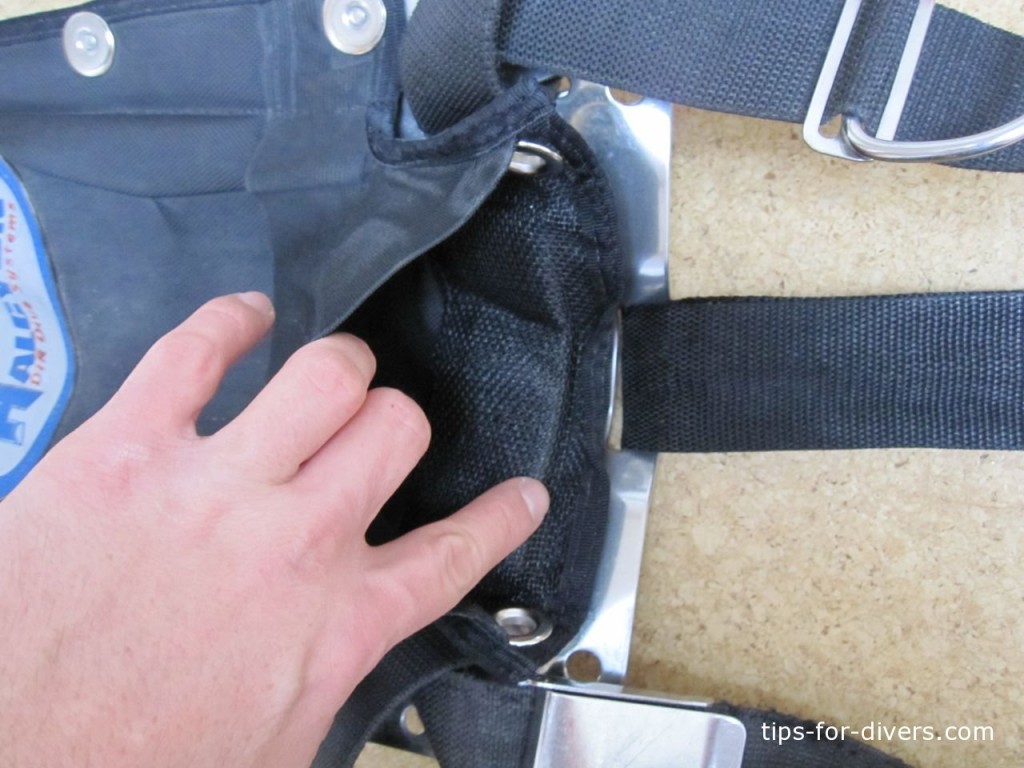
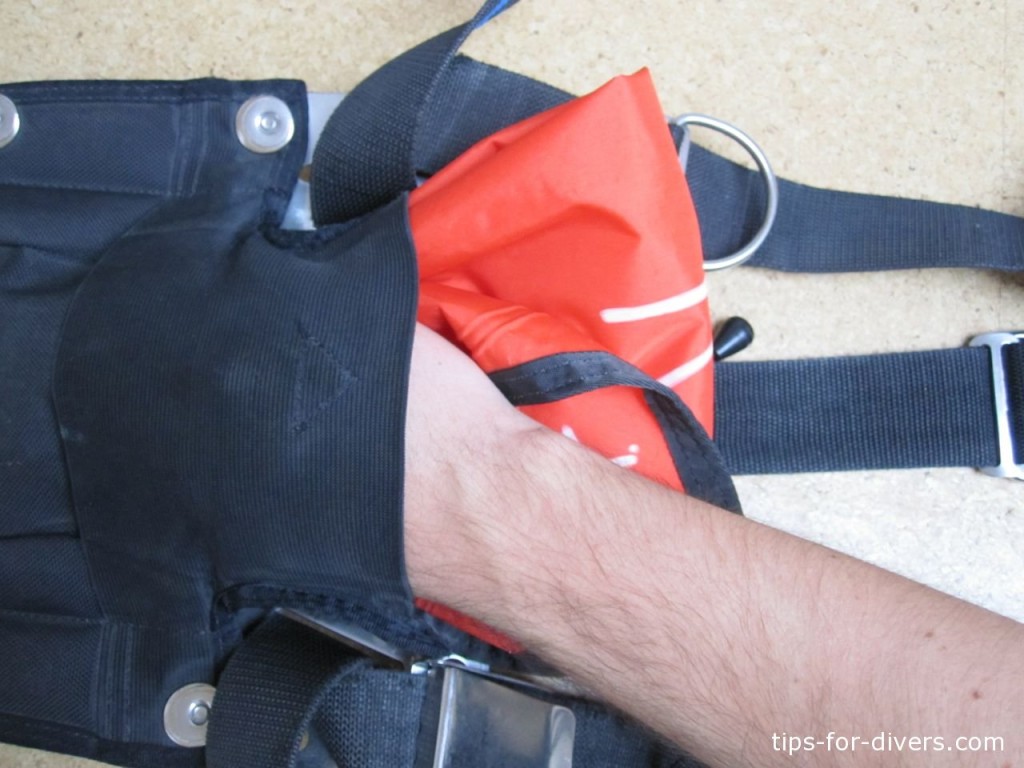
When secured to the back plate, the storage pack has a slightly narrower opening at the bottom. Into this opening, you should now push the folded lift bag.
Step 7: Pay attention to the valves
When storing the lift bag in the storage pack, you msut pay attention to the position of the valves. The valves fits perfectly into the groove of the back plate and does not press into your back. The same applies for to the inlet valve. You should place this in the bottom of the storage pack. Pay attention so that both valves do not overlap. Otherwise you will feel a very uncomfortable pressure on your back during the dive.
Step 8: Check the lift bag‘s fit
In the penultimate step you should check the lift bag’s fit in the storage pack. Make sure that the valves are neatly fitted into the groove of the back plate and that the buoy is evening distributed in the storage pack. The better you have stored the buoy in the storage pack, the less you will notice it later during the dive.
Step 9: Fix lift bag onto the rear D-ring
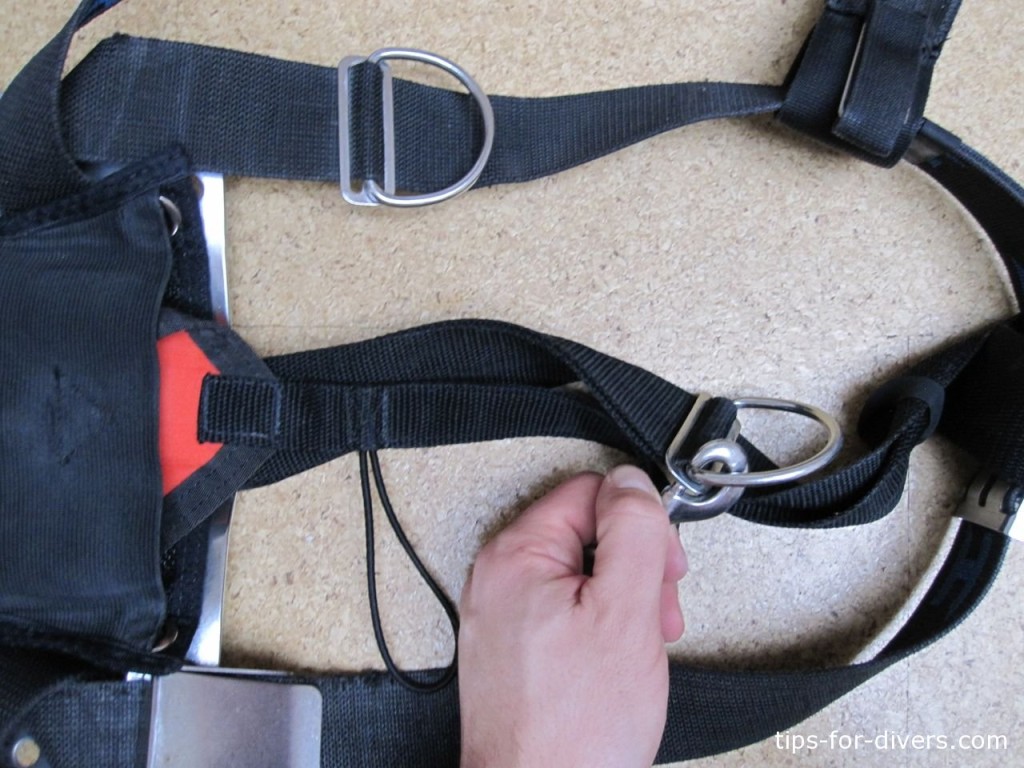
In the last step you now need to attach the lift bag to the rear D-ring (as known as “Ass-D-ring”) of the harness with the boltsnap carabiner. The buoy is now fixed and you have handle to pull lift bag out while under water.
Pull out lift bag while diving
The folded accordian-shape facilitates for you pulling out the lift bag while diving, because it is not pulled out all at once, but gradually. When the lift bag is completely out of the storage pack, clip it on with the boltsnap carabiner and then you can use the lift bag.


